Tutorials · · By the usi3d team
How to fix your 3D printer's problems with AI
To fix a 3D printer problem with AI, tell it which printer you have, exactly what you see and where on the part, since when it has happened, what you changed and which material you use, and add a sharp photo of the fault. With that, usi3d's AI tells you what to check first and how to fix it, step by step, with the manufacturer's official sources. Try one change at a time and note the result.
Key points
- The same symptom can have five different causes: the diagnosis depends on the details you give.
- Give the printer and any changes, the material and its temperatures, the exact symptom, since when, and what you have tried.
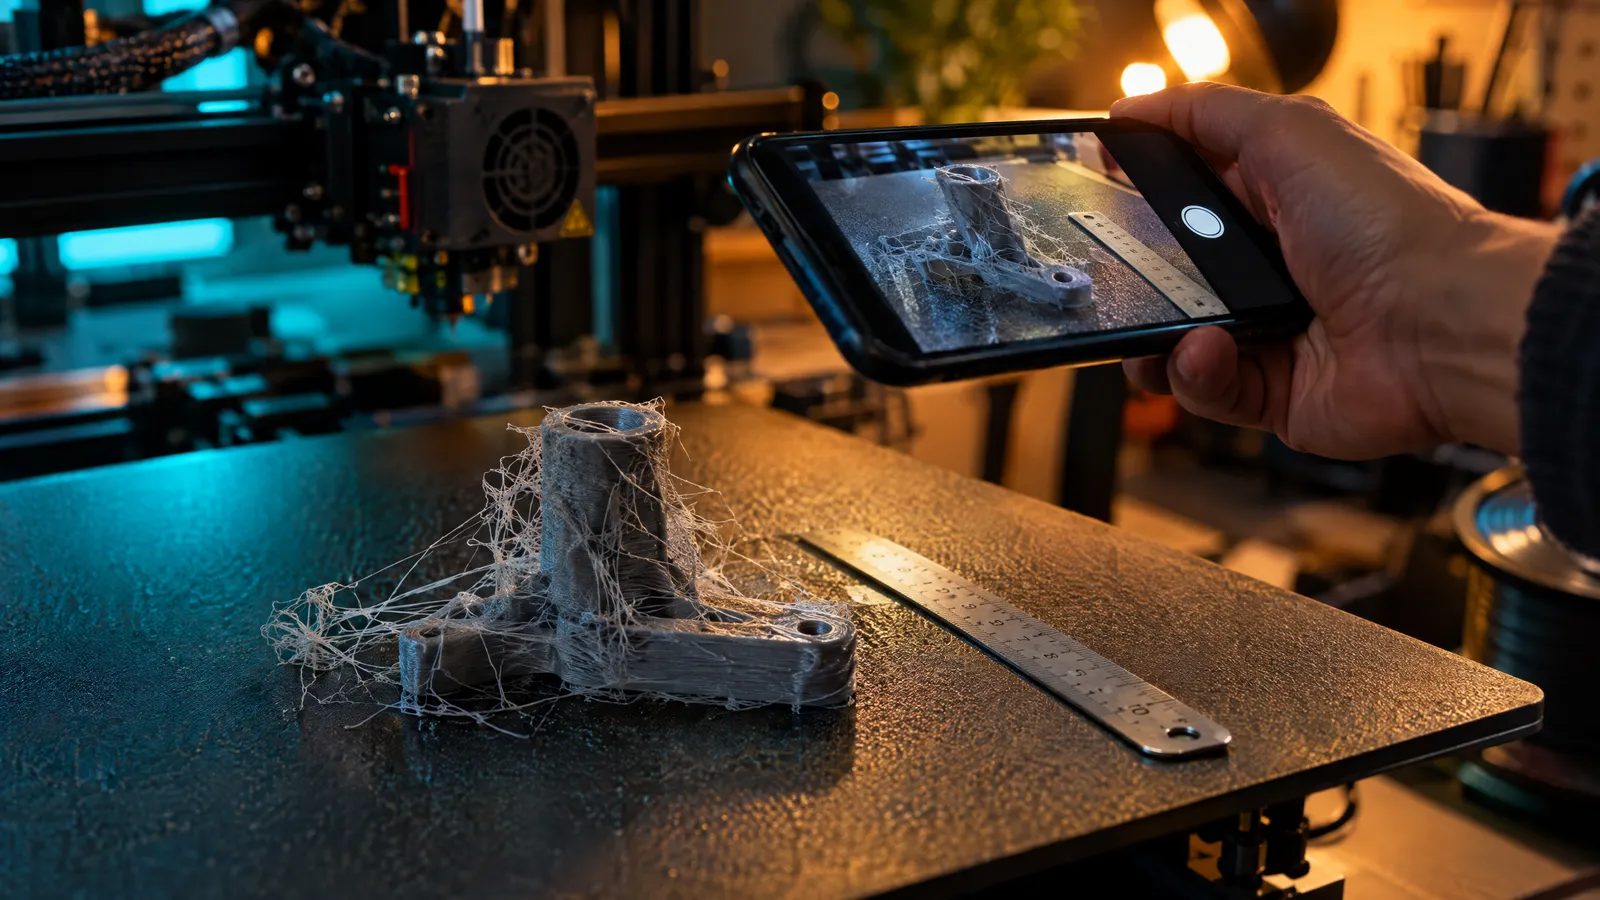
- A close-up with side light and a ruler beside it beats a paragraph; on usi3d you can add up to four photos.
- Start with what is cheap and reversible (cleaning, drying, temperature) and change one thing at a time.
- Before touching mains power, heaters or resin, switch the printer off and follow the manufacturer's instructions.
Post “my printer is stringing” on a forum and you will get ten answers: lower the temperature, raise the retraction, dry the filament, clean the nozzle, change brand. Any of them could be right, and none of them is if nobody knows your printer, your material and what you have touched. AI is no different: it gets it right to the extent that you give it the information it needs. This guide explains how to tell it.
Why the description decides the diagnosis
3D printing faults share symptoms. Gaps in the walls can come from a partial clog, damp filament, a dirty extruder gear or a temperature too low for the speed the profile asks for. Each cause has a different fix, and some mean taking things apart. If the AI knows the problem started right after a spool change, for example, it can rule out half the causes at once.
What to tell the AI about the problem
- The printer and its changes. Make and model, and anything you have swapped: the hot end, the nozzle, the plate, the firmware.
- The material. Type (PLA, PETG, TPU, ASA, ABS, nylon or resin), brand and nozzle and bed temperatures.
- The exact symptom. What you see and where: on the first layer, from a certain height, only at the corners, on large parts.
- Since when. Always? Since an update, a knock, a new spool?
- What you have already tried. And what happened, even if it did not work: that is information too.
- Error messages. The exact code or text on the screen, copied word for word.
| Vague description | Useful description |
|---|---|
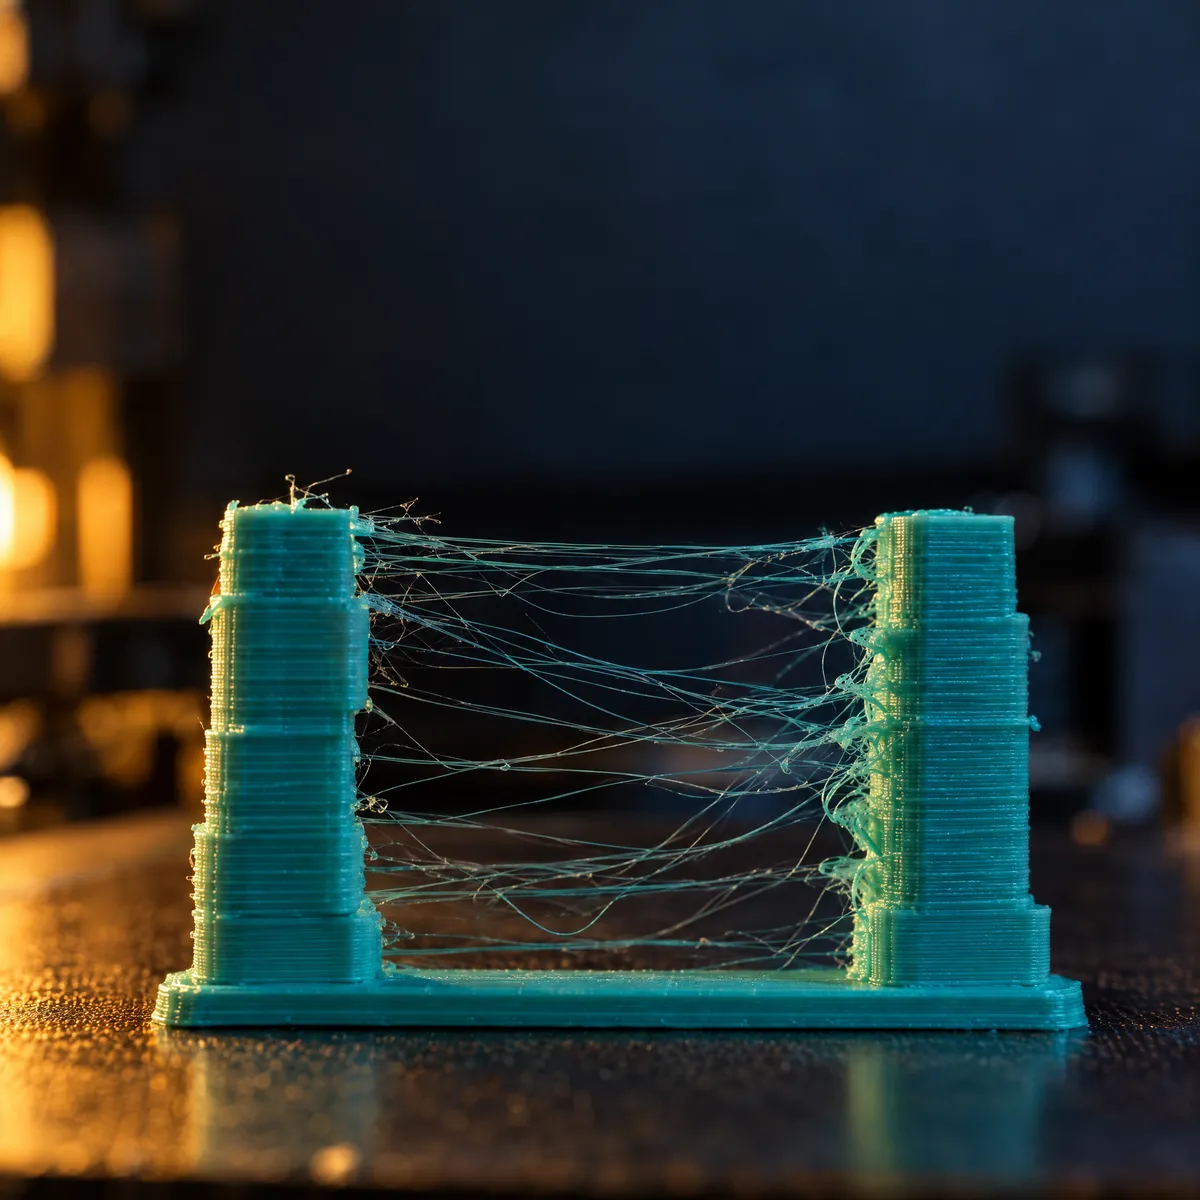
| It strings | Fine strings between the part's two towers, PETG at 245 °C, since I opened a new spool a week ago |
| It won't stick | The first layer lifts at the left-hand corners; PLA at 210 °C, bed at 60 °C, textured PEI plate |
| It makes a funny noise | Rhythmic clicking from the extruder from layer 30 on parts with heavy infill; the part has gaps |
| The part moved | Layers shifted about 3 mm on the X axis halfway through, twice this week |
Which photos help diagnose a problem
A good photo settles questions that are hard to put into words. A few pointers:
- Close and sharp. Get near the fault and tap the screen to focus. A blurry photo is no use.
- Side lighting. A torch held to one side brings out layers, gaps and ridges.
- Scale. A ruler or a coin next to it shows whether the shift is 0.5 or 5 mm.
- The fault and its surroundings. The first layer from above, the nozzle with its blob, the plate, the screen with the error.
- Both sides. On many parts the underside tells a different story.
How to fix a problem with usi3d's AI, step by step
Open Fix 3D printer problems with AI
Go to Fix 3D printer problems with AI. It works with any brand and model, filament or resin.
Choose your printer
Search for it by name or type it in if it is not listed. Say which material you are using.
Describe the problem
What you see, since when and what you have tried, with the details from the section above.
Add photos
Up to four JPG, PNG or WebP photos of up to 8 MB each: the part, the first layer, the nozzle or the plate.
Follow the order it suggests
The AI tells you what to check first and how to fix it, step by step, with links to the manufacturer's official documentation. Make one change, print a short test piece and see whether it improves.
Come back when you need to
With an account, the diagnosis is saved with its steps, so you can pick it up tomorrow with the test piece in your hand.
If the AI has no information on your particular case, it says so and suggests general checks. Try adding more detail or another photo. And remember it can get things wrong: when in serious doubt, the manufacturer's manual or support team has the final word.
In what order to check the causes
The golden rule: cheap, quick and reversible first; anything that needs tools or parts afterwards. And one thing at a time, because if you change three settings at once you will never know which one fixed it. This table shows where to start with the most common faults on filament printers:
| Symptom | Check first | Then |
|---|---|---|
| First layer will not stick | Clean the plate with isopropyl alcohol; Z offset | Bed levelling or mesh, bed temperature |
| Strings between parts | Drop the nozzle 5-10 °C and dry the filament | Retraction distance and speed |
| Gaps in walls (under-extrusion) | Tangled or damp filament, temperature | Partially clogged nozzle, extruder gear |
| Corners lifting (warping) | Brim, draughts, plate cleanliness | Bed temperature, enclosure for ABS and ASA |
| Shifted layers | Belt tension and anything blocking the axes | Pulley grub screws, speed and acceleration |
| Clicking extruder | Temperature too low for the speed | Clogged nozzle, extruder tension |
| Resin: part will not stick to the platform | Platform levelling, base layer exposure | Resin temperature, condition of the film |
When the problem is the model, not the printer
If the printer turns out a clean calibration cube but always fails on the same file, suspect the model. A mesh with holes or badly oriented faces makes the slicer invent layers, leave walls open or move the nozzle through thin air. Repair a model finds open edges, duplicate faces and orientation problems, and closes simple flat holes in your browser.
If the part came from AI, like the ones made from a photo, check the very thin sections too: below 0.8 mm with a 0.4 mm nozzle, they print badly on any machine.
How to stop the problem coming back
- Keep filament in sealed bags with desiccant, especially PETG, TPU and nylon.
- Clean the plate with isopropyl alcohol before every print and handle it by the edges.
- Check belt tension and screws every few hundred hours of printing.
- Write down the settings that work with each spool: temperature, speed and retraction.
If you are still on your first parts, the first 3D print guide covers levelling, the first layer and starting settings. And to see everything usi3d does, start with our launch post.
Frequently asked questions
Can AI diagnose 3D printer problems?
Yes, if you give it specifics: printer, material, exact symptom, since when and what you have tried, ideally with a photo. usi3d's AI tells you what to check first and links the manufacturer's official documentation.
What photos should I take of a failed print?
A sharp close-up of the fault with side lighting and a ruler beside it, plus one of the first layer or the nozzle if they are involved. On usi3d you can add up to four.
Does it work for resin printers?
Yes. usi3d's AI covers filament and resin printers of any brand and model.
Why is my 3D printer stringing?
Nearly always because the temperature is too high, the filament is damp or retraction is too low. Start by dropping 5 °C and drying the spool before you touch retraction.
What if the AI cannot fix my problem?
Add more detail or a better photo and try again. If it still is not solved, or the fault is electrical, turn to the manufacturer's manual or support team.