Guides · · By the usi3d team
Your 3D printer nozzle: when to change it and which one to choose (brass, hardened steel, sizes)
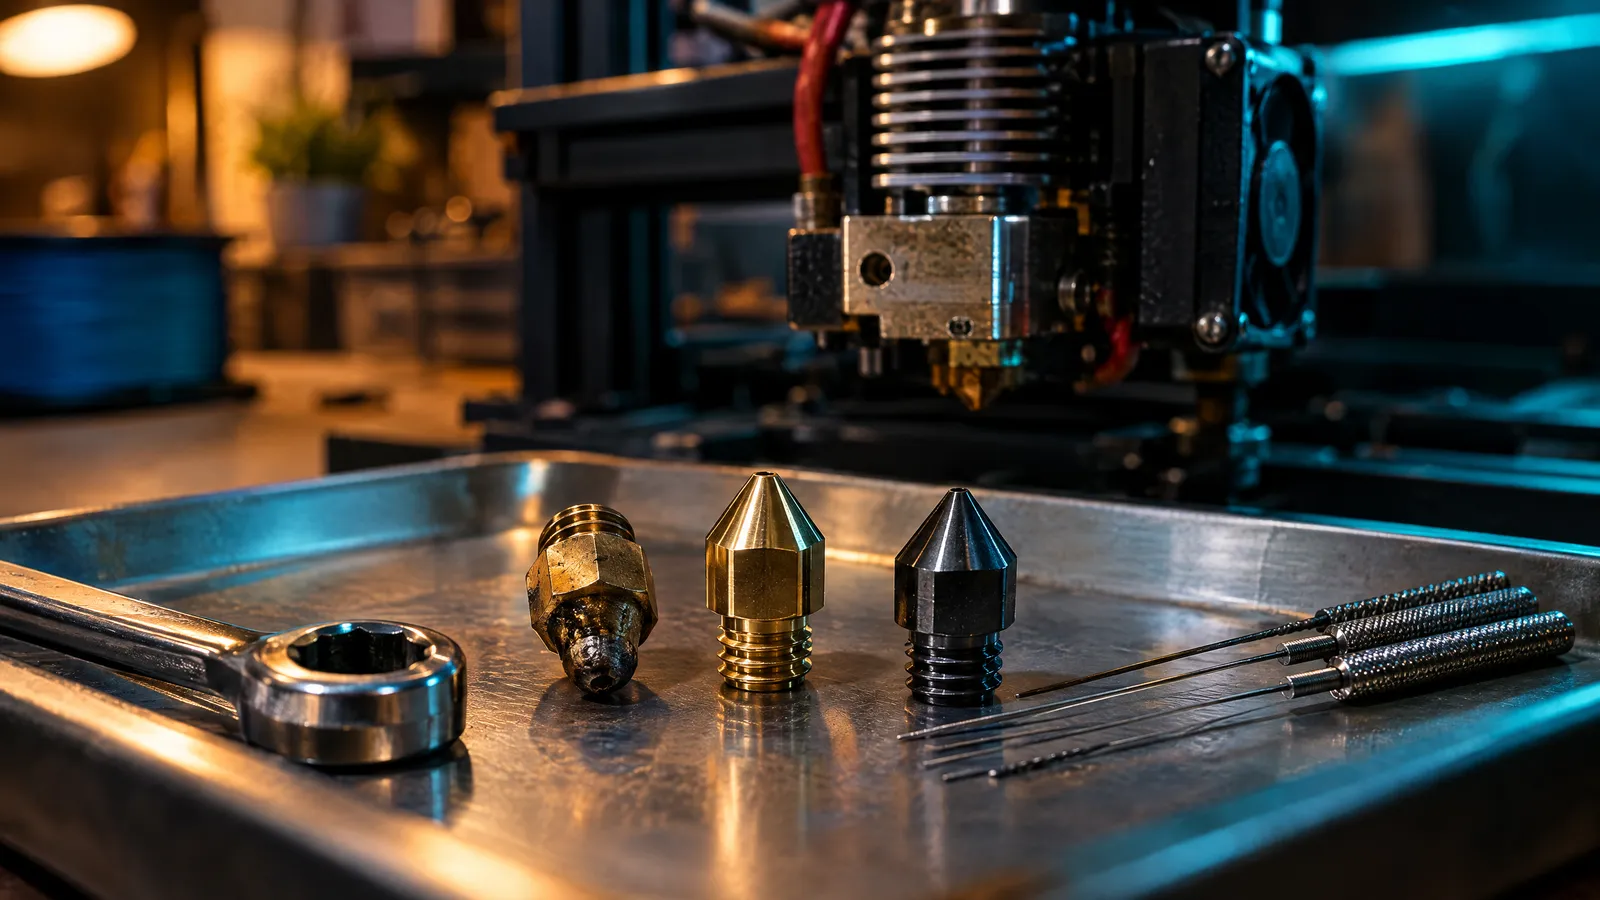
Change the nozzle when under-extrusion keeps coming back even though the filament is dry and the extruder is fine, when the tip looks flattened or the hole has gone oval, after a crash into the bed, or after printing abrasive filament through a brass one. For PLA and PETG the standard 0.4 mm brass nozzle is all you need; for carbon fibre, glass fibre or glow-in-the-dark, go hardened steel, ideally 0.6 mm.
Key points
- A worn nozzle causes under-extrusion, wider perimeters and poorer detail even when the rest of the printer is fine.
- Brass lasts a long time with PLA, PETG, ABS or TPU, but fibre-filled or particle-filled filaments wear it out within a few kilograms.
- Hardened steel resists abrasives but conducts heat less well: it usually needs 5 to 15 °C more.
- Layer height should not exceed 75% of the nozzle diameter: 0.3 mm on a 0.4 nozzle and 0.45 mm on a 0.6.
- After a swap, recalibrate Z offset and the first layer, and tell both the slicer and the printer the new diameter.
Why the nozzle is a wear part
Every metre of filament you print passes through the nozzle at 200-280 °C. Its hole, 0.4 mm on almost every printer, sets the width of each line, and the flat face of the tip smooths the plastic it has just laid down. Once that tip rounds off or the hole widens, the printer keeps working, but prints worse.
It is a cheap part and easy to change on most printers. So when print quality has slipped gradually with no other explanation, it pays to suspect the nozzle early.
Signs your nozzle needs replacing
- Under-extrusion that keeps returning: gaps in top surfaces and thin walls even though the filament is dry, the extruder grips properly and flow is calibrated. Rule out the usual suspects with the under-extrusion guide first.
- Wider lines and poorer detail: small text turning to mush, rounded corners, perimeters measuring more than they should.
- A flattened tip or an oval hole: compare it with a new one under a magnifier or with your phone camera in macro mode.
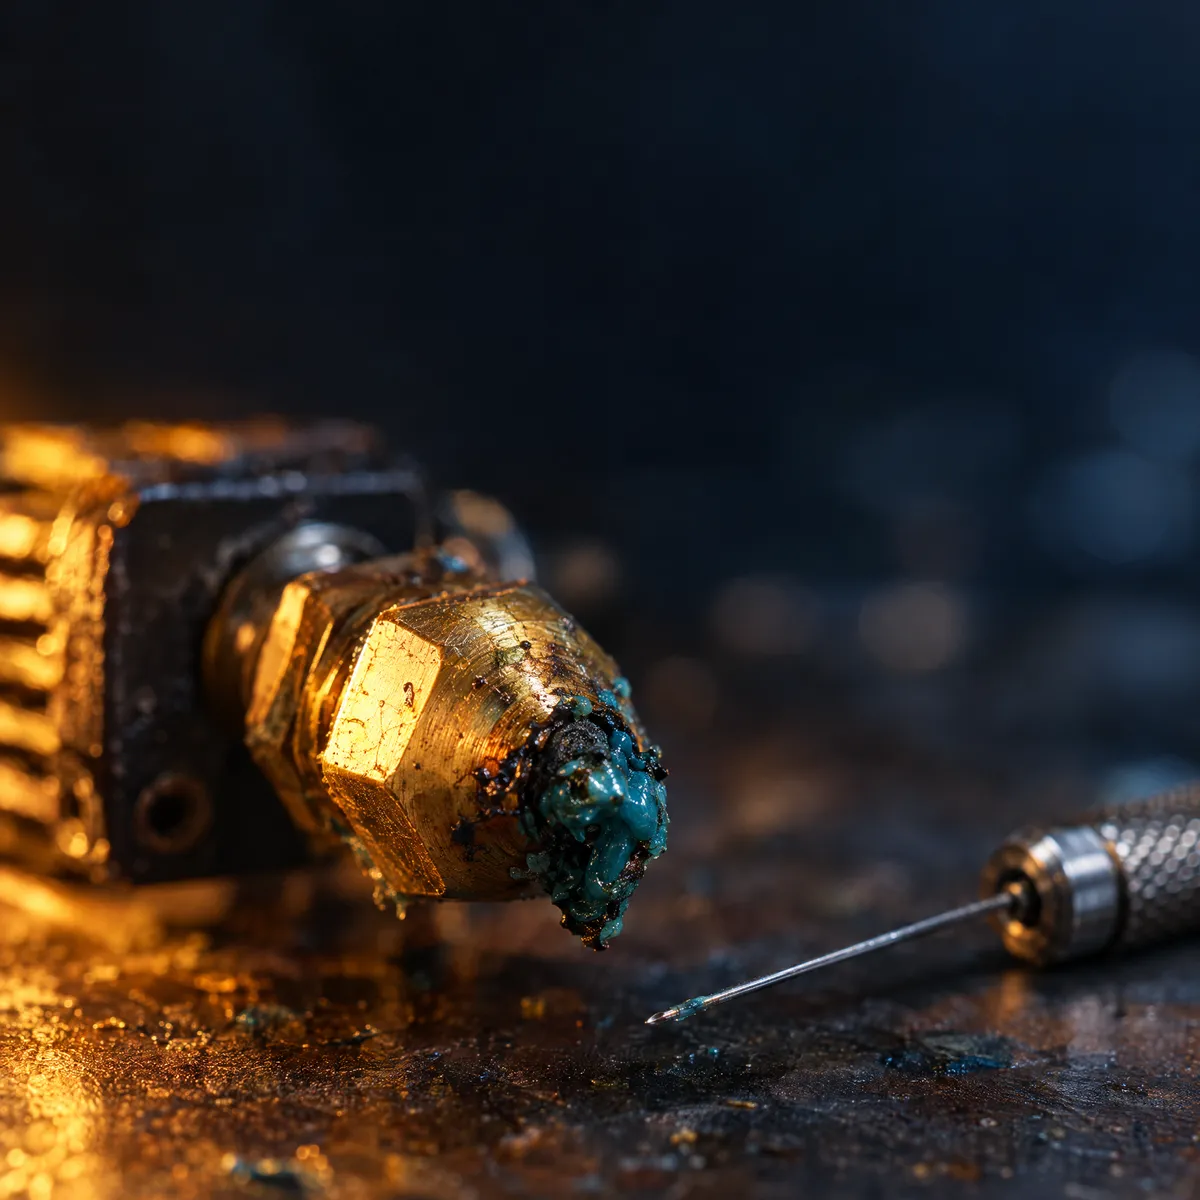
- Clogs that will not clear: if it keeps jamming after a cold pull and a cleaning needle, replace it. The clogs and heat creep guide helps you rule out other causes.
- A crash into the bed: a dented or bent tip scrapes layers and ruins the first one.
- Plastic leaking from the thread: a blob around the heater block means the nozzle is loose or was not tightened properly.
- You have printed something abrasive through brass: check it even if you have not noticed anything yet.
How often should you change the nozzle?
There is no fixed number of hours. A brass nozzle that only ever sees PLA, PETG, ABS or TPU can last months of daily use, even years. Carbon or glass fibre-filled filaments, glow-in-the-dark, wood-fill and metal-fill are a different story: those particles sand the brass from the inside and a nozzle can be finished after one or two kilograms, sometimes sooner.
A useful habit: inspect the tip every few months if you print daily, always keep a spare of the same type and, when you swap, keep the old one to compare. You spot wear far more easily side by side than looking at one nozzle on its own.
Brass, hardened steel and other materials
| Material | With PLA, PETG, ABS, TPU | With fibre, glow, wood fill | Heat conduction | When to choose it |
|---|---|---|---|---|
| Brass | Very good | Wears quickly | Excellent | The stock option; fine for almost everything |
| Hardened steel | Good | Very good | Poorer: add 5 to 15 °C | If you print abrasives often |
| Stainless steel | Good | Not designed for abrasives | Poorer than brass | Specific cases; not the one for abrasives |
| Plated copper | Very good | Wears | Excellent | High temperatures and less plastic sticking |
| Hardened steel tip with copper body (bimetal) | Very good | Good | Very good | Abrasives without losing flow; pricier |
| Tungsten carbide or ruby tip | Very good | Excellent | Good | Heavy abrasive use; the most expensive |
Hardened steel is the usual choice for abrasives. The catch is that it conducts heat less well: at the same speed the plastic comes out slightly cooler, so you typically need to raise the temperature by 5 to 15 °C or reduce flow. If layers start splitting with a freshly fitted steel nozzle, start there. The fibre-filled filament guide covers what Prusa and Bambu Lab recommend for these materials.
Which nozzle size to choose: 0.2, 0.4, 0.6 or 0.8 mm
The rule of thumb: layer height between 25% and 75% of the diameter, and line width between 100% and 150%. On that basis:
| Diameter | Usable layer height | For | Upside | Downside |
|---|---|---|---|---|
| 0.2 mm | 0.05-0.15 mm | Miniatures, small text, jewellery pieces | Very fine detail | Very slow and clogs more easily |
| 0.4 mm | 0.10-0.30 mm | Almost everything; the one that ships with the printer | Balance of detail and speed | Marginal for abrasives |
| 0.6 mm | 0.15-0.45 mm | Functional parts, boxes, fibre-filled filaments | Faster, stronger walls, fewer clogs | Loses fine detail |
| 0.8 mm | 0.20-0.60 mm | Spiral vase mode, large parts | Very fast | Visible steps and layers |
A worked example: a 150 × 100 × 60 mm box with three perimeters. With 0.4 mm and 0.2 mm layers, each wall is 1.2 mm thick and the part has 300 layers. With 0.6 mm and 0.3 mm layers, the wall grows to 1.8 mm with the same three perimeters and the layer count drops to 200: tougher and noticeably quicker, in exchange for a coarser finish. To use less material without changing nozzle, see how to save filament.
Not every nozzle fits every printer
Many share an M6 thread but differ in length and tip shape. The most common are V6 (E3D and compatibles, very widespread), MK8 (the Ender 3 and many older Creality machines, with a longer thread) and Volcano (long, for high flow). A nozzle of the wrong length leaves the block at a different height and may not seal properly against the heat break.
Other printers use their own systems. On the Bambu Lab X1 and P1 you swap the hotend complete with its nozzle; on the A1 and A1 mini it unclips without tools. Check your model’s manual before buying; and if what you actually have is a clog on an X1 or P1, start with its clogged nozzle guide.
How to change the nozzle step by step
These steps apply to hotends with a threaded V6 or MK8-style nozzle. If your printer swaps the whole hotend, follow its manual.
Get your tools ready
A socket that fits the nozzle’s hex (7 mm on a V6), an adjustable or open-ended spanner to hold the heater block, heat-resistant gloves and a metal surface to put the hot nozzle down on.
Heat up and unload
Bring the hotend up to the temperature of the last material you used and unload the filament. The plastic inside needs to be soft so the thread does not seize.
Hold the block and unscrew
Lock the heater block with the spanner so it cannot turn: if it does, you can tear the thermistor or heater wires. Unscrew the nozzle anticlockwise.
Screw in the new one
Thread the new nozzle in with the socket until it stops, without forcing it. The final tightening is done hot: E3D, for example, specifies 285 °C for the V6, because the metal expands and a nozzle tightened cold works loose as it heats.
Adjust the printer
Every nozzle is a slightly different length: redo the Z offset or first-layer calibration. Enter the new diameter in your slicer (Bambu Studio, OrcaSlicer, PrusaSlicer or Cura) and, if your printer asks for it, on the printer too.
Run a test print
A first-layer test and a calibration cube. If you changed nozzle material, calibrate flow as well. If the first layer is off, the uneven first layer and Z offset guide tells you where to go next.
Where to buy nozzles and how to tell if the problem lies elsewhere
The usi3d shop lists brass and hardened steel nozzles in V6 and MK8 formats, sets for specific printers and cleaning needle kits, each with its compatible printers shown up front. You buy them on each retailer’s own website.
If you are not sure the nozzle is to blame, describe the symptom to usi3d’s troubleshooting AI with a photo of the print and one of the tip: it asks what it needs and tells you what to check first. If you would rather read, the troubleshooting guides collect each brand’s official procedures. And for the jargon, there is the 3D printing glossary.
Frequently asked questions
How often should you replace a 3D printer nozzle?
There is no set interval. With PLA or PETG a brass nozzle lasts months or years; with abrasive filaments, such as carbon fibre-filled ones, it can wear out within one or two kilograms.
How can I tell if my nozzle is worn?
Look for under-extrusion that returns with no other cause, wider lines, poorer detail and a flattened tip or oval hole. Compare it with a new one under a magnifier.
Brass or hardened steel nozzle?
Brass for PLA, PETG, ABS, ASA and TPU. Hardened steel if you print carbon or glass fibre-filled, glow-in-the-dark or metal-filled filaments; raise the temperature by 5 to 15 °C.
What nozzle size is best?
0.4 mm covers almost everything. 0.6 mm prints faster and makes stronger parts; 0.2 mm gives more detail at the cost of much longer prints.
Should you tighten a nozzle hot?
Yes. On hotends with a threaded nozzle the final tightening is done hot because the metal expands; E3D specifies 285 °C for its V6. Always hold the heater block with a spanner.
What do I need to adjust after changing the nozzle?
Z offset or the first layer, the diameter in the slicer and on the printer and, if you changed nozzle material, flow and temperature.