Guides · · By the usi3d team
Your first 3D print: from the box to a clean part
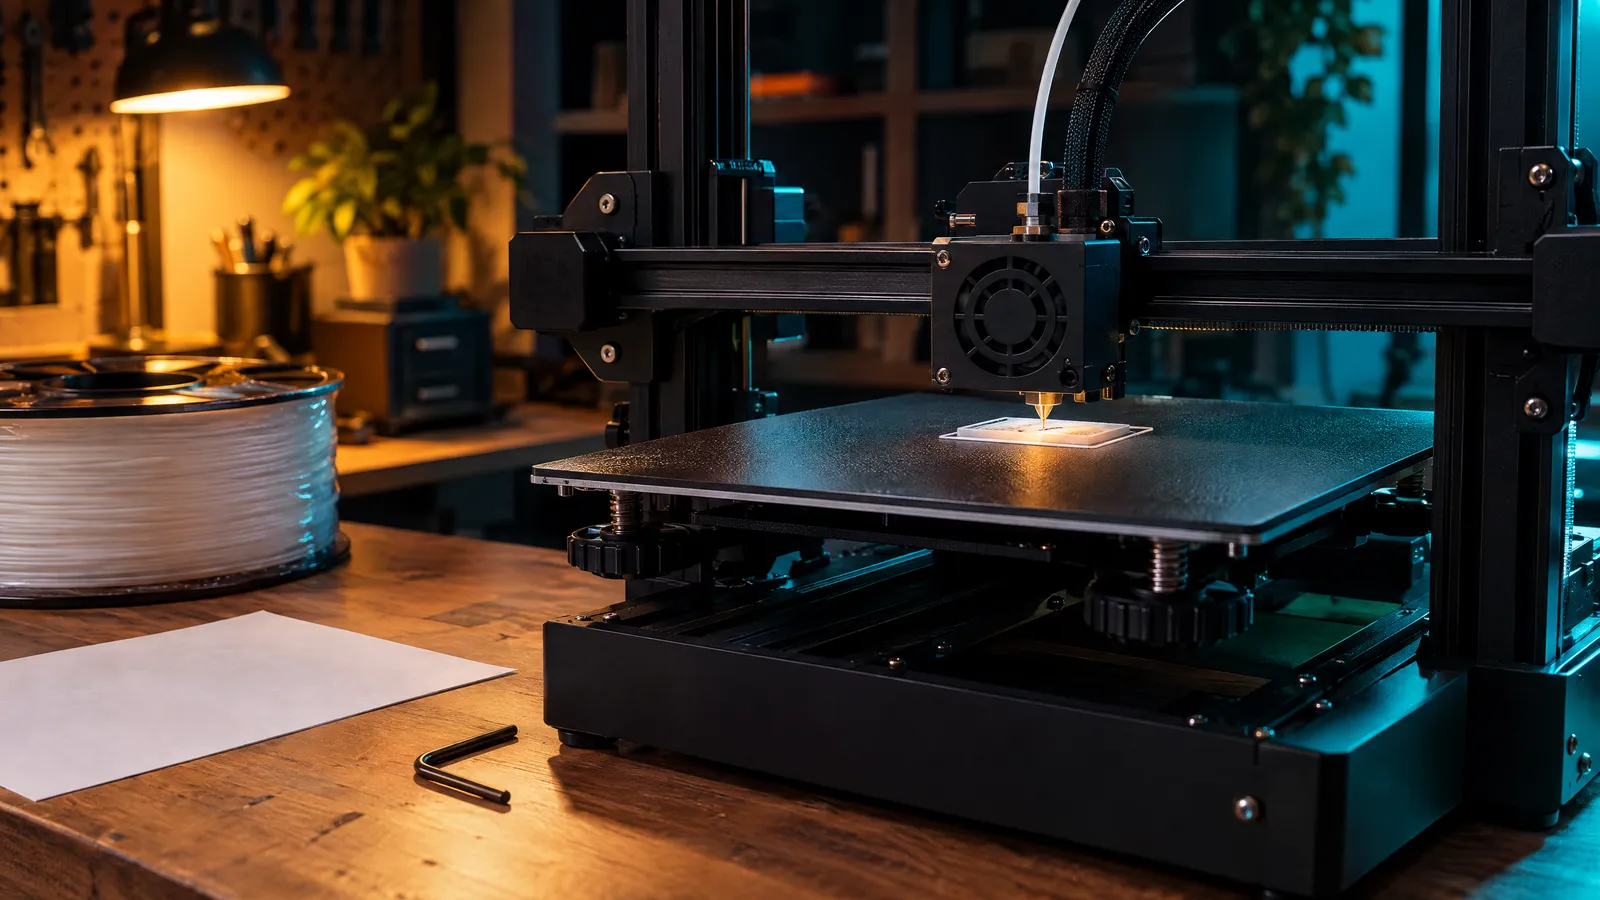
To get your first 3D print right: check the assembly, level the bed and set the nozzle height, clean the plate with washing-up liquid or isopropyl alcohol, use PLA with your printer's profile in the slicer and start with a small test piece. Stay and watch the first layer: if it sticks properly, the hardest part is done.
Key points
- Most first-print failures come from the first layer: a badly levelled bed, a nozzle set too high or a greasy plate.
- To start, PLA at 200-215 °C with the bed at 55-60 °C, 0.2 mm layers, 2-3 walls and 15% infill.
- Use your printer's profile in the slicer (Bambu Studio, OrcaSlicer, PrusaSlicer or Cura) before changing any setting.
- Your first part should be small and quick: a 20 mm calibration cube or the test model that comes with the printer.
Your first print is the most exciting one and the one most likely to go wrong. Rarely because of the printer: it is nearly always a bed a couple of tenths of a millimetre out, a greasy fingerprint on the plate or a spool that spent a month open by the window. This guide follows the real order, from opening the box to lifting the part off, with concrete numbers so you are not guessing.
Before you switch on: assembly and placement
Modern printers arrive almost fully assembled, but shipping loosens things. Before the first power-on, check:
- Frame and bed screws, with the hex key in the box. Nothing should wobble when you push it by hand.
- Belts. They should be taut like a low guitar string: pluck them and they hum rather than going slack.
- Cable ties and transport foam. More than one first print has failed because of a tie left on the Y axis.
- The spot. A solid table, away from draughts and direct sunlight. A wobbly table shows up in the layers.
If the manufacturer has newer firmware than the factory version, update it before you start, following their instructions. It often fixes calibration bugs you would otherwise chase later.
Which filament to use for your first print
Start with PLA. It prints at low temperatures, barely shrinks as it cools and forgives levelling errors that other materials will not. Leave the rest until the printer has given you a few good parts.
| Material | Nozzle | Bed | For beginners? |
|---|---|---|---|
| PLA | 190-220 °C | 55-65 °C | Yes: the easiest |
| PETG | 230-250 °C | 70-85 °C | Later: more stringing, and it bonds hard to smooth PEI |
| TPU (flexible) | 210-230 °C | 40-60 °C | No: needs slow speeds and a good extruder |
| ABS / ASA | 240-260 °C | 90-110 °C | No: needs an enclosed printer and ventilation |
Always check the spool label: each manufacturer gives its own range, and it overrides this table. Keep filament in a sealed bag with desiccant when you are not using it. Damp PLA pops, crackles and strings.
How to level the bed and set the first layer
The nozzle has to sit at the same distance from the plate across the whole surface, and that distance has to be just right to squash the filament slightly against it. Many modern printers measure this themselves with a probe and build a bed mesh. Even so, the fine height adjustment, the Z offset, sometimes needs setting by hand.
If your printer is levelled by hand
Heat up
Bring the bed to working temperature (60 °C for PLA) and the nozzle to about 150 °C, so the metal expands as it will when printing without filament oozing out.
Move the nozzle to each corner
With the motors disabled or from the levelling menu, place the nozzle over each bed screw.
Use a sheet of paper
Ordinary printer paper is about 0.1 mm thick. Turn each corner's wheel until the paper drags slightly against the nozzle as you slide it, without getting caught.
Do a second pass
Adjusting one corner moves the others. Two full rounds are usually enough; finish with the centre of the bed.
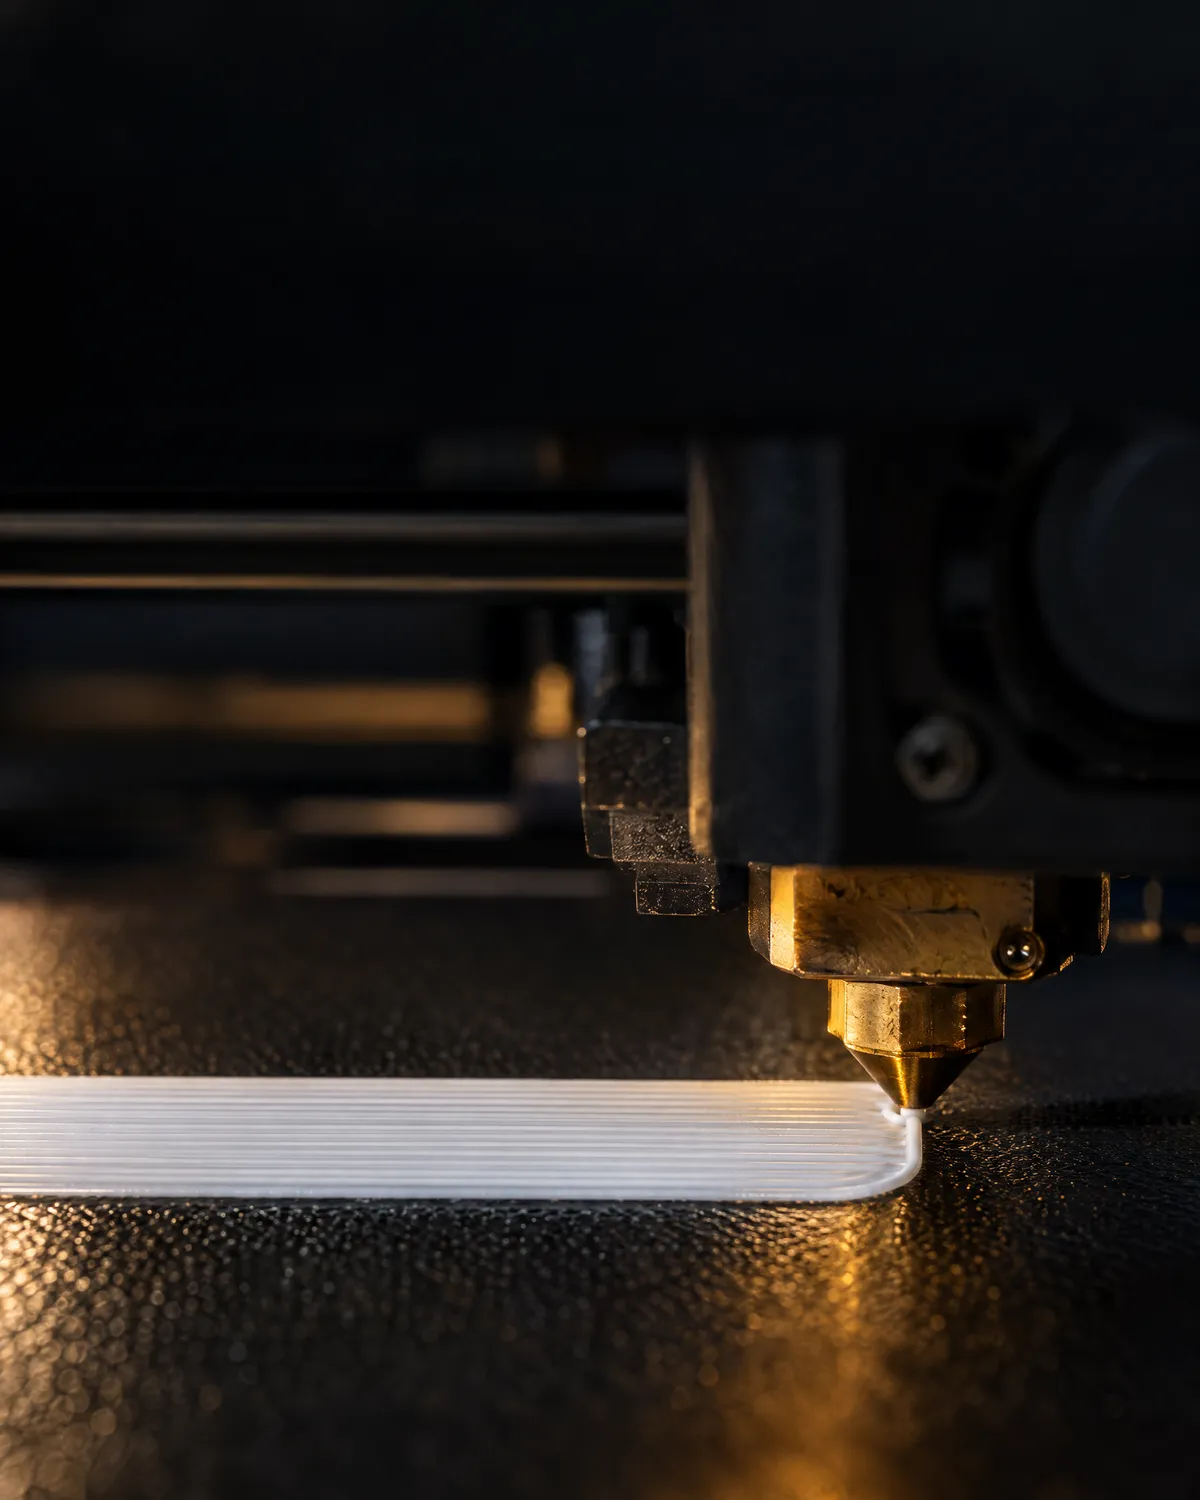
How to tell if the first layer is right
| What you see | What it means | What to do |
|---|---|---|
| Round, separate lines that peel off | Nozzle too high | Lower the Z offset by 0.02-0.05 mm |
| Flattened lines merging into a smooth surface | Correct distance | Nothing: print |
| See-through, scratched or ridged surface | Nozzle too low | Raise the Z offset by 0.02-0.05 mm |
| Fine on one side, poor on the other | Bed out of level | Redo the levelling or the bed mesh |
How to clean the build plate
Grease from your fingers is the silliest and most common reason a part comes loose. Wash the PEI plate with warm water and washing-up liquid now and then, dry it with paper towel and, between prints, wipe it with 90% or stronger isopropyl alcohol. From then on, handle it by the edges.
PETG on smooth PEI is the opposite problem: it sticks so well it can tear bits off the surface. A thin layer of glue stick acts as a release layer. On textured plates it is rarely needed.
Which slicer to use and what settings to start with
The slicer turns your model (STL or 3MF) into the instructions the printer runs. Use the one your manufacturer recommends: it comes with a tested profile. The most popular ones are free:
- Bambu Studio, for Bambu Lab printers.
- PrusaSlicer, for Prusa and many others.
- OrcaSlicer, open source, with profiles for many brands.
- UltiMaker Cura, a long-standing option that supports almost everything.
Pick your printer, the nozzle (nearly always 0.4 mm) and the material, and change nothing else the first time. If you want to know where the numbers come from, these are typical starting settings for PLA: 0.2 mm layers, 2 or 3 walls, 15% infill, supports only if the model has overhangs beyond 45°, and a 5 mm brim if the part has a small footprint.
What to print first
Something small and quick, 15 to 30 minutes. The test model on the printer's memory card is ideal, because it was sliced for that machine. If there is none, a 20 mm calibration cube will tell you whether the dimensions and the first layer are right. Save the 12 cm figure for your third or fourth print.
If you want to print something of your own, you can create it with AI from a photo or a description. Before slicing, check the mesh has no holes in Repair a model and, if you want to know how much filament and money it needs, run it through the cost calculator.
During the print and when it finishes
- Watch the first 5-10 minutes. If the first layer will not stick, cancel: it will not fix itself.
- Listen. A rhythmic clicking from the extruder means it is struggling to push the filament.
- When it finishes, let the bed cool. PLA releases from PEI on its own below about 30 °C; with a flexible plate, flex it slightly.
- Remove supports with needle-nose pliers and clean up any flash with a craft knife or a fine file.
If something goes wrong
| Symptom | Most likely cause | First check |
|---|---|---|
| The part comes loose or shifts | First layer too high or dirty plate | Clean with alcohol and lower the Z offset |
| No filament comes out at the start | Nozzle too close or clogged | Raise the Z offset and extrude by hand |
| Strings between parts | Temperature too high or damp filament | Drop 5 °C and dry the spool |
| Corners lift | Temperature difference and poor adhesion | Add a brim and keep draughts away |
| Layers shifted in a step | Loose belt or a head crash | Check the belt tension |
If your problem is not in the table or will not go away, describe it to Fix 3D printer problems with AI with a photo: it will tell you what to check first for your particular printer, with the manufacturer's sources. And if it is your first day on usi3d, here is what each tool does.
Frequently asked questions
What is the best filament for beginners in 3D printing?
PLA. It prints at 190-220 °C with the bed at 55-65 °C, hardly warps as it cools and forgives small levelling errors.
How do I know if my bed is level?
From the first layer: the lines should come out flattened and merged into a smooth surface across the whole bed. If they look round or see-through, adjust the levelling or the Z offset.
Which slicer should I use for my first print?
The one your printer's manufacturer recommends, with its profile: Bambu Studio, PrusaSlicer, OrcaSlicer and Cura are all free and come with tested profiles.
Why won't my first layer stick?
Almost always one of three things: the nozzle is too high, the plate is greasy or the bed is not level. Clean it with isopropyl alcohol and lower the Z offset a little at a time.
What should I print first?
Something small and quick: the test model that comes with the printer or a 20 mm calibration cube. It tells you whether the first layer and dimensions are right before you start longer prints.
Can I leave my 3D printer running unattended?
Not for your first prints. Once you know your machine, follow the manufacturer's safety advice and at least watch the first layer.