Tutorials · · By the usi3d team
How to turn a photo into a printable 3D model with AI
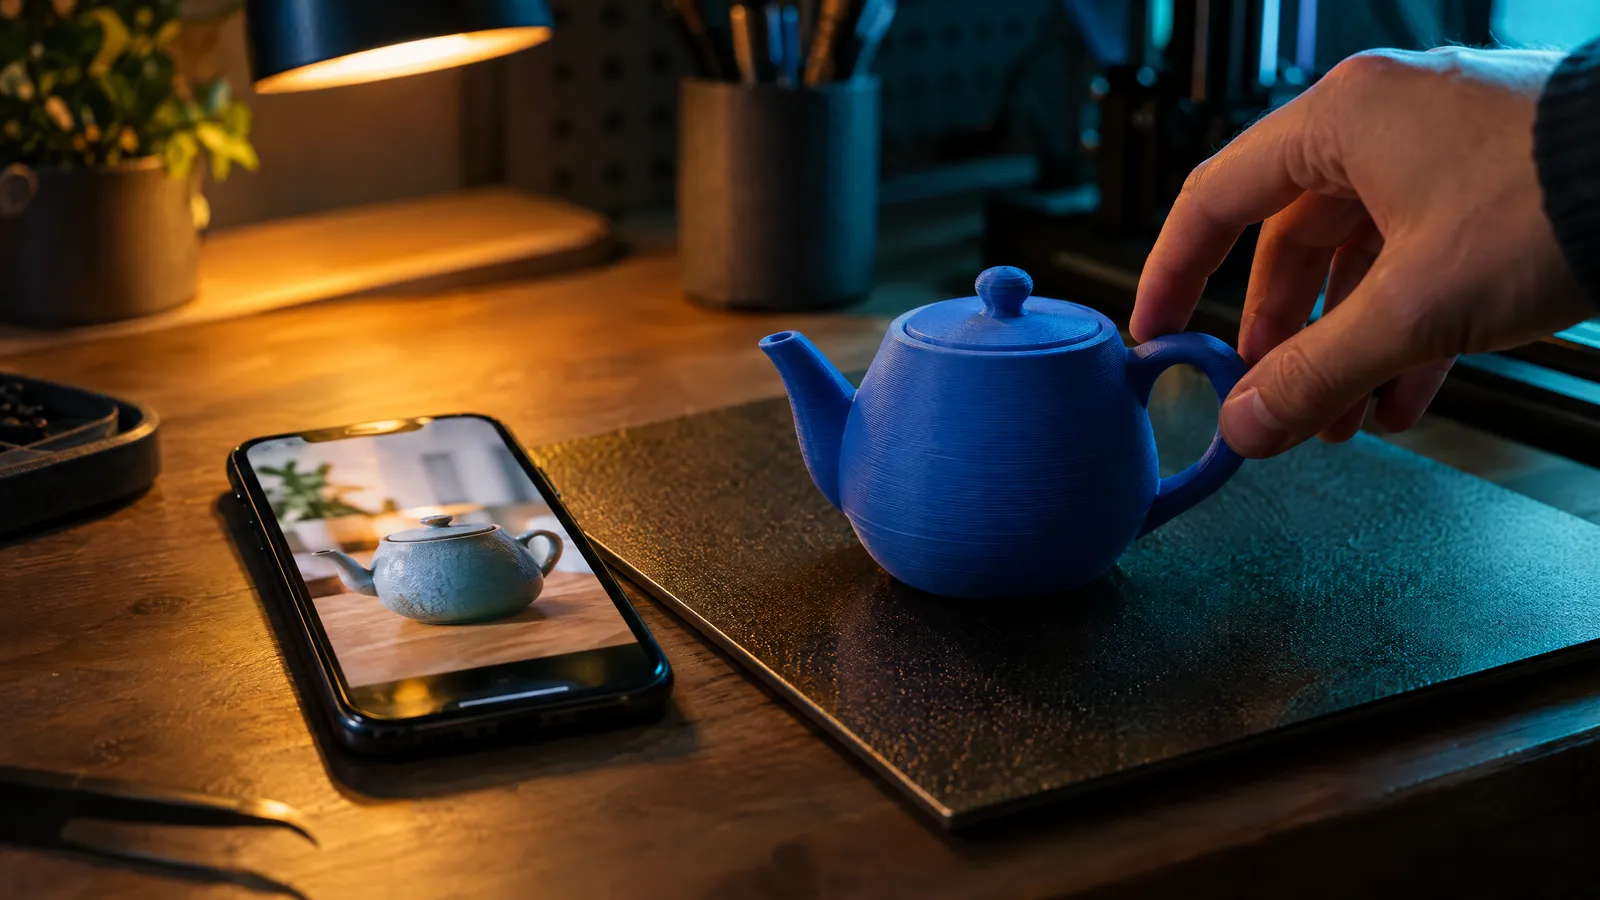
To turn a photo into a printable 3D model you need a picture of a single object, whole, well lit and on a plain background. An AI image-to-3D tool such as usi3d's Image to 3D builds the mesh from that photo and gives it to you as STL for your slicer or as GLB with colour. You then check it, scale it and print it, bearing in mind that the AI has filled in whatever the photo does not show.
Key points
- A good photo for 3D shows one whole object, in soft light, on a plain background, with nothing cropped off.
- Image-to-3D AI works out the volume from one picture and invents what it cannot see, so dimensions are approximate.
- In usi3d's Image to 3D you upload a PNG, JPG or WebP of up to 20 MB, see the cost in credits before confirming, and the model is kept in My projects.
- Before printing, turn the model round, check thin parts and overhangs, set the scale and close any holes.
Until recently, getting a real object into 3D meant photogrammetry: dozens of photos taken all round the piece and software that stitched them together for hours. Image-to-3D AI changes the sums. One well-taken photo gives you a model with volume in a few minutes. The catch is that the AI has to imagine what it cannot see, and that decides most of what goes right or wrong.
What image-to-3D AI can and cannot do
The AI reads the outline, shading and texture of the photo and infers a complete shape. Photograph a cat from the front and it understands there is a back and a tail even though neither is visible, and models them the most likely way. For a decorative figure that works very well. For a mechanical part that has to mate with another, less so: dimensions come out approximate and holes have no reliable diameters.
| Method | What you need | Accuracy | Best for |
|---|---|---|---|
| AI image to 3D | One photo, drawing or sketch | Faithful from the front; hidden parts are inferred | Figures, decor, gifts, visual prototypes |
| Photogrammetry | 30 to over 100 photos around the object | High on the photographed surface | Copying real objects with their exact shape |
| CAD modelling | Measurements and time | Exact, to a tenth of a millimetre | Functional parts, fits, spare parts |
Which photo works for 3D
The quality of the model depends more on the photo than on any later setting. These are the rules that make the biggest difference:
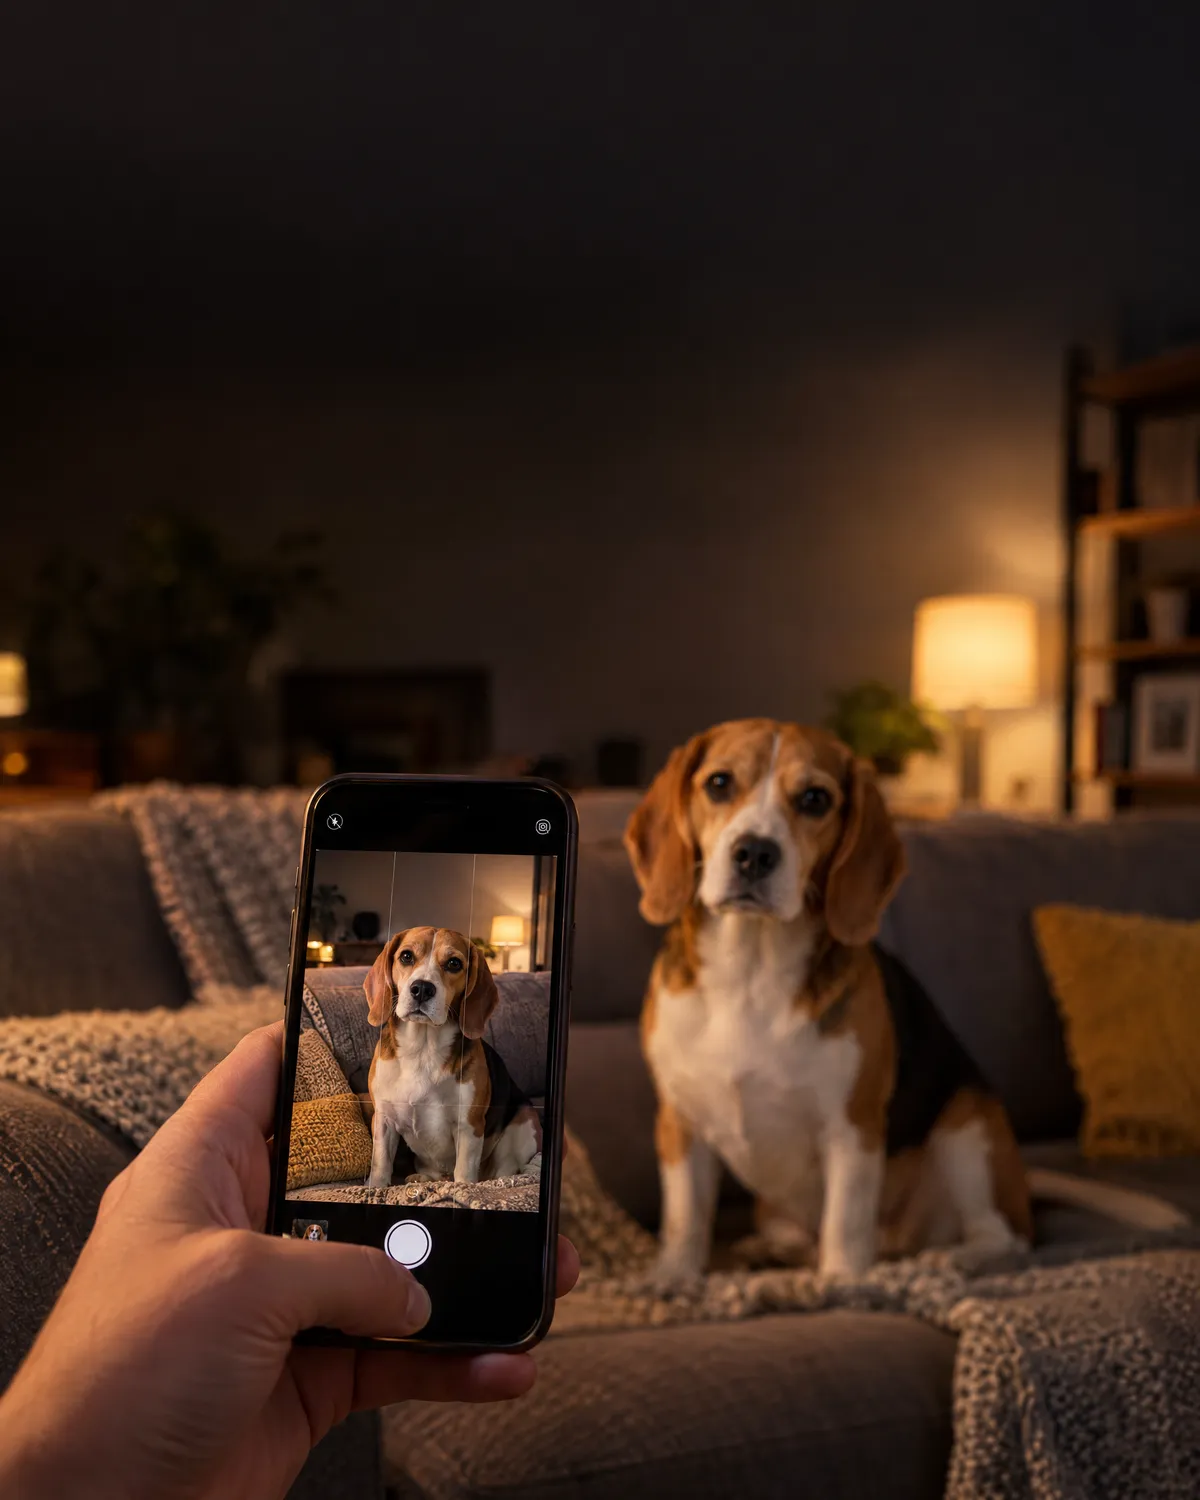
- One object, whole. If the dog's ear is out of frame, the AI will crop it or make it up. Leave some space around it.
- Soft light. A window on an overcast day or a lamp bounced off a wall. Hard shadows get mistaken for shape.
- A plain, contrasting background. A white wall for a dark object, grey card for a light one. No bookshelves behind.
- A three-quarter view, slightly from above. That way the front, one side and the top all show at once, and the AI has less to guess.
- Sharp. No motion blur. With a phone, rest your elbows or use the 3-second timer.
- No reflections or transparency. Glass, chrome and glossy plastic fool the AI. If you can, shoot the piece in diffuse light to kill the highlights.
Drawings and sketches work too
A child's crayon drawing or a pencil sketch works if the figure is complete and the strokes are clear. Flat colours help the AI tell the parts apart. In a sketch, draw the object rather than the scene: a clean silhouette tells it more than lots of shading.
| Photo that works | Photo that causes trouble |
|---|---|
| A mug on an empty table, three-quarter view | The mug on a draining rack among other dishes |
| The dog sitting up, whole, at head height | The dog lying on the sofa under a blanket |
| A figure lit by a window | The same figure lit by the phone's flash |
| The drawing scanned or photographed straight on | The drawing at an angle, with your hand's shadow across it |
Upload your photo to Image to 3D
How to turn a photo into 3D with usi3d, step by step
Open Image to 3D and upload the image
Go to Image to 3D and choose your photo, drawing or sketch as PNG, JPG or WebP, up to 20 MB. If you would rather ask in plain words, the AI agent does the same from a conversation.
Choose the quality and check the cost
Each quality shows its cost in credits. Preparing the quote uses nothing: the job only starts when you confirm. If the generation fails, the credits go back to your balance.
Wait for the model
Generation takes a few minutes. The project is saved in My projects, so you can close the page and come back later.
Review it in 3D
Turn it all the way round in the viewer. Look at the back, the gaps and the fine details: they are what the AI had to imagine.
Download it
As STL, in millimetres, for your slicer, or as GLB if you want to keep the colour to paint it or show it off.
How to check the model before printing
A model can look perfect on screen and still fail on the printer. Spend two minutes on these checks before slicing:
- Thin parts. With a 0.4 mm nozzle, a wall under 0.8 mm gets barely two extrusion lines. Whiskers, antennae and thin tails may snap or not print at all.
- Overhangs. Anything sticking out more than 45° from vertical needs support. Chins, outstretched arms and wings are the usual suspects.
- Base. The figure needs a flat surface to stand on. If the AI has left it rounded, cut 1 or 2 mm off the bottom in your slicer.
- Scale. The AI has no idea your cat is 25 cm long. Set the height you want in the slicer; for a desk figure, 80 to 120 mm is a good starting point.
- Holes in the mesh. If the slicer reports errors, run it through Repair a model, which finds open edges and closes simple flat holes in your browser.
How to get it ready to print
For a figure around 10 cm tall in PLA, these settings work on almost any printer with a 0.4 mm nozzle: 0.12 to 0.16 mm layer height so the curves do not look stepped, 2 or 3 walls, 10 to 15% infill and tree supports only where needed. PLA usually prints at 200 to 215 °C with the bed at 55 to 60 °C. A figure like that can take 3 or 4 hours, depending on the printer.
If you want to print it in several colours, paint it by area in Colours using real filament colours. If it is too big for your bed, Split into parts divides it with numbered joints. And if you want to know what it will cost before you hit print, the cost calculator estimates it from the STL.
Common mistakes when turning a photo into 3D
- Using a group photo and expecting the AI to pick the right object.
- Shooting with flash: it flattens the volume and leaves highlights the AI reads as marks.
- Printing without turning the model round, then finding out on the plate that the back is flat.
- Asking for a functional part with exact dimensions. For that, CAD software does a better job.
If you have no photo but a clear idea, you can describe it in words instead. We touched on it in our launch post, and a guide on how to write the description is on its way.
Frequently asked questions
Can you turn a photo into a 3D model?
Yes. Image-to-3D AI works out the volume from a single photo and produces a mesh you can print. The AI fills in whatever the photo does not show.
How many photos do I need to make a 3D model with AI?
One good photo is enough: a whole object, soft light, plain background. Traditional photogrammetry, by contrast, needs dozens of photos taken all round the object.
Which file format should I download for 3D printing?
STL, which every slicer opens. On usi3d it downloads in millimetres. GLB keeps the colour and is handy for painting or showing the model.
Are the model's dimensions accurate?
No. The AI reproduces the shape, not the measurements. Set the scale in your slicer and use CAD software for parts that have to fit together.
How much does it cost to turn a photo into 3D on usi3d?
It costs credits depending on the quality you choose. You see the cost before confirming, preparing the quote uses nothing and, if the generation fails, the credits come back.