Tutorials · · By the usi3d team
How to repair an STL (holes, normals) and improve the finish of an AI-made model
A “broken” STL usually has open edges, inside-out or duplicate faces and edges shared by more than two faces, and the slicer answers with holes or missing layers. In usi3d's Repair an STL model tool you check and fix it in the browser, with no credits: it removes duplicate faces, turns the normals outwards and closes flat holes. “Improve the finish” then smooths the noise and stepping typical of AI-made models, with the deviation measured in millimetres.
Key points
- A printable mesh is watertight: closed, with no edges shared by more than two faces, no duplicate faces and every face pointing outwards.
- usi3d's Repair an STL model tool checks and repairs STL, GLB and 3MF files up to 750,000 triangles in the browser, with fixed rules and no credits.
- The repair closes flat or nearly flat holes; anything it cannot fix safely is left as it was and marked.
- “Improve the finish” filters noise and smooths stepping without rounding off sharp edges, and reports the maximum and mean deviation in millimetres.
- Always check the repaired part in your slicer before printing.
What it means for an STL to be broken
A slicer needs to know what is inside the part and what is outside to lay down walls and infill. That only works if the mesh is watertight: a closed skin with no holes, where every edge joins exactly two faces and all of them face outwards. When any of those conditions fails, the slicer guesses, and sometimes it guesses wrong.
| Defect | What it is | What you see when slicing |
|---|---|---|
| Open edges | Edges with a single face: the rim of a hole | Layers with missing wall sections or infill spilling out |
| Non-manifold edges | Edges shared by three faces or more | Slicer warnings and doubled or cut walls |
| Inside-out faces | Faces whose normal points into the part | Areas the slicer treats as empty |
| Inconsistent orientation | Two neighbouring faces running opposite ways | Holes and odd layers in that area |
| Duplicate or degenerate faces | Repeated triangles or ones squashed into a line | Calculation errors and heavier files |
| Loose bits | Small pieces touching nothing | Blobs printed in mid-air that end up as spaghetti |
Models downloaded from repositories are usually fine, because their authors have printed them. Problems show up with exports from artistic modelling software, 3D scans, hand-merged meshes and AI-generated models.
How to tell whether your model has errors
Bambu Studio, OrcaSlicer and PrusaSlicer warn you on import if they find open or non-manifold edges, and some offer to fix them. It is a useful first sign, but they do not show you where the problem is. In usi3d's Repair an STL model you get the full list with figures (open edges, non-manifold edges, inside-out faces, inconsistent orientation, volume) and you can mark on the model itself where each defect sits.
How to repair an STL in usi3d, step by step
Open the model
Drop your STL, GLB or 3MF into Repair an STL model, or try one of the samples under free licences. It is processed in your browser and uses no credits. Checking and repairing go up to 750,000 triangles; the viewer, measurements and section view work with larger meshes.
Read the check
The table says whether the mesh is watertight and counts every defect. If there is nothing to repair, it says so: the mesh is closed, has no duplicate faces and faces outwards.
Repair
The repair uses fixed rules, no AI: it removes duplicate and degenerate faces, turns every face outwards and closes flat or nearly flat holes using the vertices of their rim.
Compare before and after
Every check shows its value before and after. Turn on Mark on the model what changes to see the closed holes, flipped faces and removed faces in colour.
Place it and download
Rotate it, measure it, cut it open to see inside and lay it on whichever face you like. The STL is saved with those rotations, the bed placement and the size you gave it, in millimetres.
What an automatic repair cannot fix
No automatic tool knows what the missing surface looked like. Repair an STL model does not invent it: whatever it cannot repair safely is left as it was and marked, so you decide. Deal with these cases in a modelling program such as Blender, using its 3D Print Toolbox extension for checking meshes.
- Large curved holes, like the crown missing from a scan of a head. Closing them with a flat patch would spoil the shape.
- Walls thinner than the nozzle. With a 0.4 mm nozzle, a 0.3 mm wall disappears when sliced. As a rule of thumb, allow at least 0.8 mm (two lines).
- Intersecting parts that are not joined, like an ear sunk into a head. Many slicers merge them fine; if not, they need fusing in a modelling program.
- Details smaller than a layer. At a 0.2 mm layer height, 0.1 mm of relief will not print however perfect the mesh.
Why AI-made models need a better finish
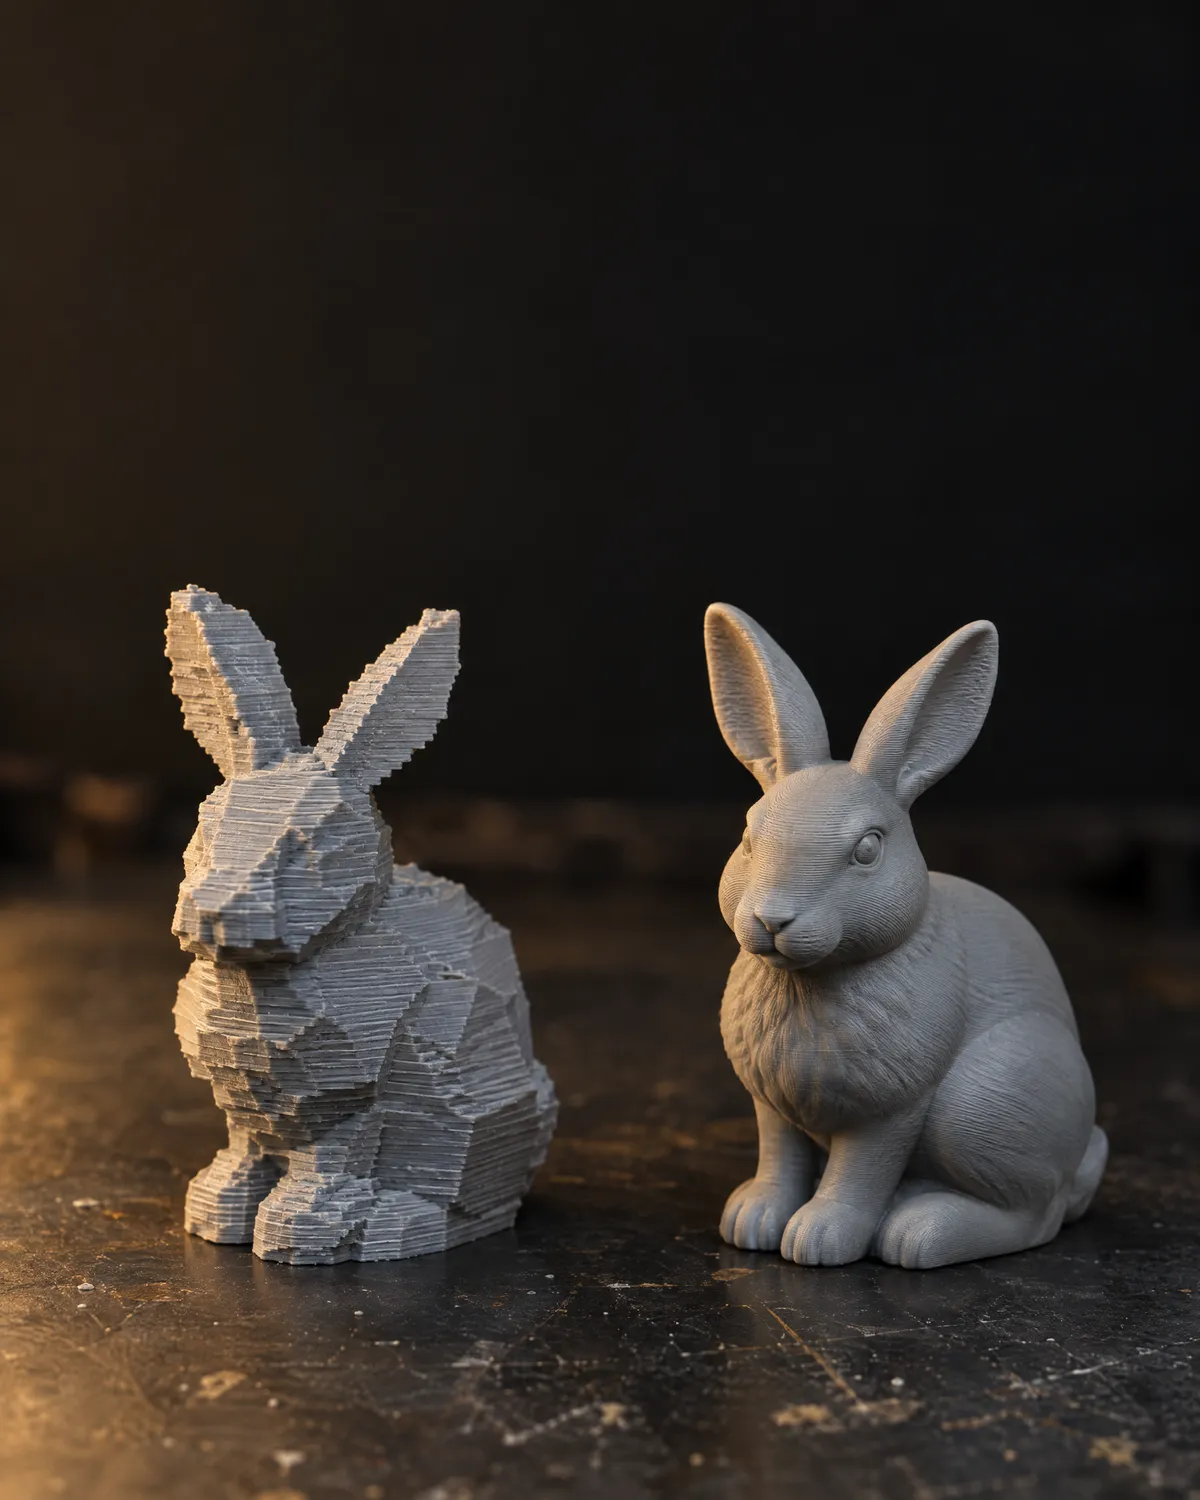
An AI-generated model can be watertight and still print badly. The typical defects are three: surface noise, which looks like orange peel on the part; stepping, when the mesh comes from a reconstruction made of little cubes (voxels); and loose bits floating around the figure. At a 0.12 mm layer height in matte PLA, mesh noise shows up on the print in full detail.
How to improve the finish of a 3D model in usi3d
Choose the strength
In the improve-the-finish section choose Light, Medium or Strong, or fine-tune from 1 (most faithful) to 10 (smoothest). Start with Light on detailed figurines and Medium on plain parts.
Let it work
It finds and removes loose bits, smooths out stepping if the mesh looks voxel-built, filters noise while keeping sharp edges and restores the volume so the part does not shrink. All in your browser, with fixed rules and no AI.
Read the figures
The table gives the triangles, the maximum and mean deviation between the surface before and after in millimetres, the volume change, the largest change in the bounding box and the sharp edges kept. They are measured on the mesh you will download.
Compare and download
View the model with and without colour (without it, the shape is easier to judge). Download the improved STL or the GLB in colour: the colour and texture are kept. This download comes with the Pro, Max or Business plan.
Smoothing does not invent detail the model lacks, and very fine detail can soften: an engraved eye 0.3 mm deep can end up almost flat on Strong. That is why it is worth comparing before you download. The best way to avoid poor meshes is a good input to begin with, which we cover in how to turn a photo into a 3D model.
Models created by usi3d come out repaired
When you create a model with Text to 3D or Image to 3D, the usi3d service repairs the mesh before writing the STL and the 3MF: it closes holes, removes loose bits and degenerate faces and flips inside-out faces. If anything is left after that, the creation's notice tells you and the Repair it button opens Repair an STL model with your part already loaded.
After repairing: the final check in your slicer
- Open the repaired STL in your slicer and check that the mesh warnings have gone.
- Step through the preview layer by layer in the areas that were marked: no wall should be missing and no infill should spill out.
- If the part does not fit your bed, split it with joints in Split into parts.
- If your software needs another format, convert it in Convert 3D files.
- If the print still fails with a sound mesh, the problem is the machine: start with the guide to gaps in top layers, walls and infill or the one on under-extrusion.
Frequently asked questions
How can I repair an STL for free?
Open it in usi3d's Repair an STL model tool: it checks the mesh in your browser, removes duplicate faces, turns faces outwards and closes flat holes, with no credits. Downloading the repaired model is free too.
What is a non-manifold mesh?
A mesh with edges shared by three or more faces, or with edges that have only one face. The slicer cannot tell reliably what is inside and what is outside, so holes or doubled walls appear.
Why does my STL have holes when I slice it?
Usually because the mesh has open edges or inside-out faces. Repairing it and checking it is watertight normally fixes it; if the hole is large and curved, that area has to be rebuilt in a modelling program.
How do I smooth an AI-generated 3D model?
With a filter that smooths noise while keeping sharp edges. In usi3d, “Improve the finish” does it in the browser with three strengths and gives you the deviation in millimetres. You can try it for free; downloading the improved model needs the Pro, Max or Business plan.
Does repairing or smoothing a model change its size?
The repair only touches the defects. Smoothing moves the surface slightly, and usi3d shows the maximum and mean deviation, the volume change and the bounding-box change so you can check.