Ideas · · By the usi3d team
From your child's drawing to a 3D-printed figure
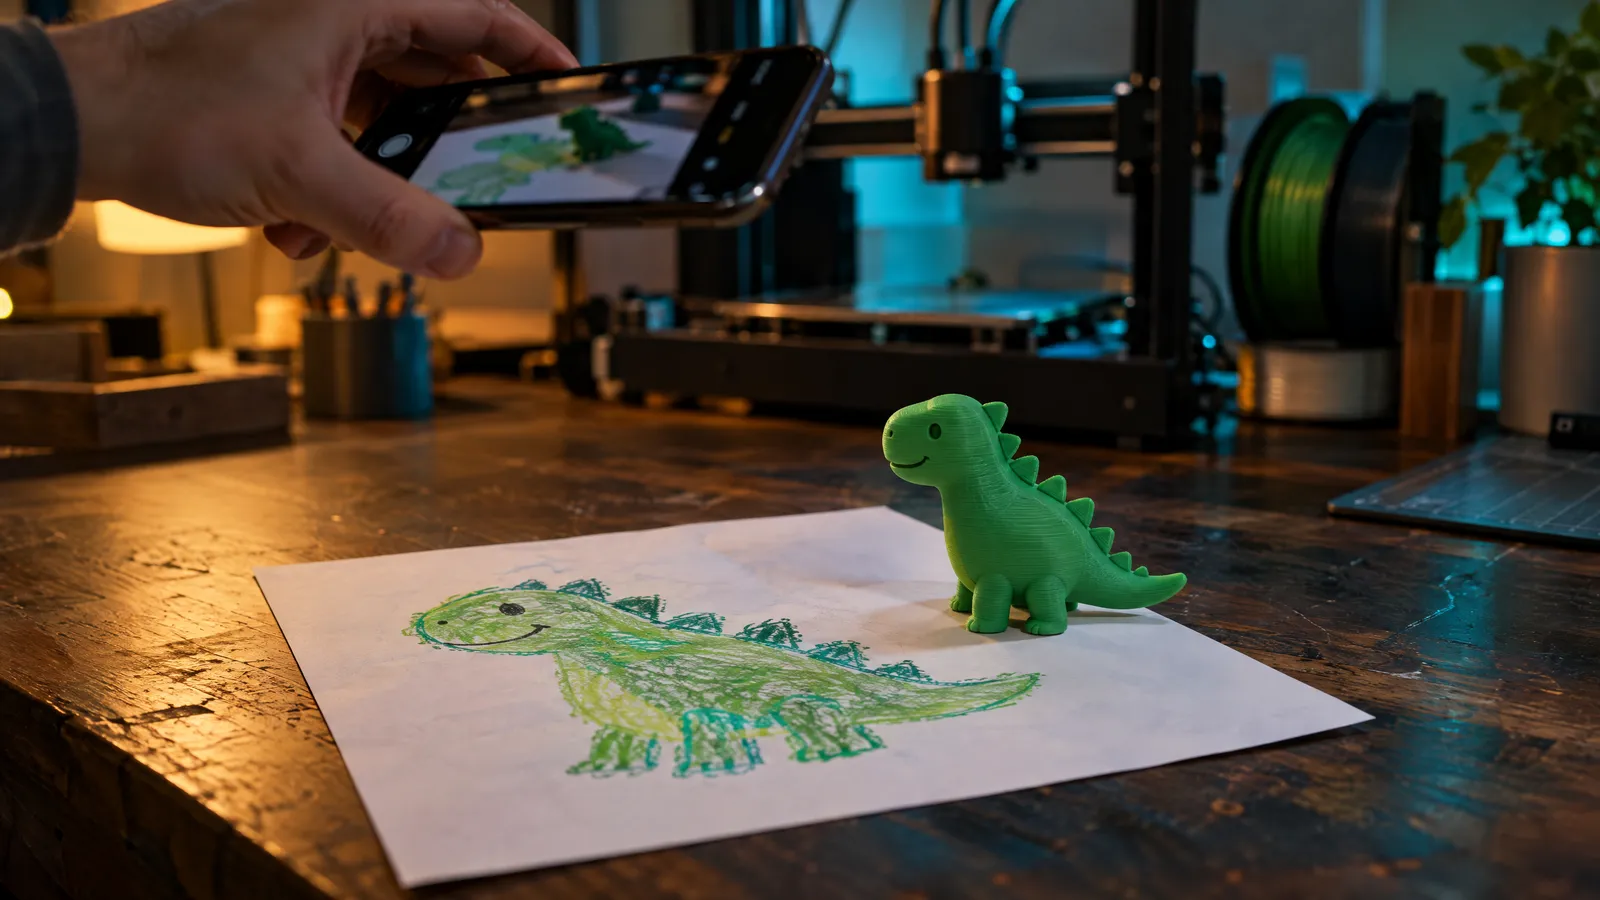
Take a straight photo of the drawing in daylight, upload it to Image to 3D and usi3d recognises it as a drawing: it first turns it into a whole front-facing figure, generates its views and builds the 3D model from all of them, so it doesn't invent extra eyes or details. You see the cost before confirming. Then print it in PLA at around 8-10 cm tall with 0.12 to 0.16 mm layers.
Key points
- Drawings of a single character, whole body, with clear strokes and flat colours work best.
- Photograph it in daylight, with the phone parallel to the paper and the drawing filling most of the frame.
- usi3d detects that the image is a drawing, turns it into a front-facing figure with its views and builds the 3D model from all of them; that's why it costs more credits than a photo, and you see it before confirming.
- To print it: PLA, 8-10 cm tall, 0.12-0.16 mm layers, 2 or 3 walls and 10-15 % infill.
- With Colours you can paint the model and export it as 3MF to print it in several filaments.
Why a child's drawing makes such a special figure
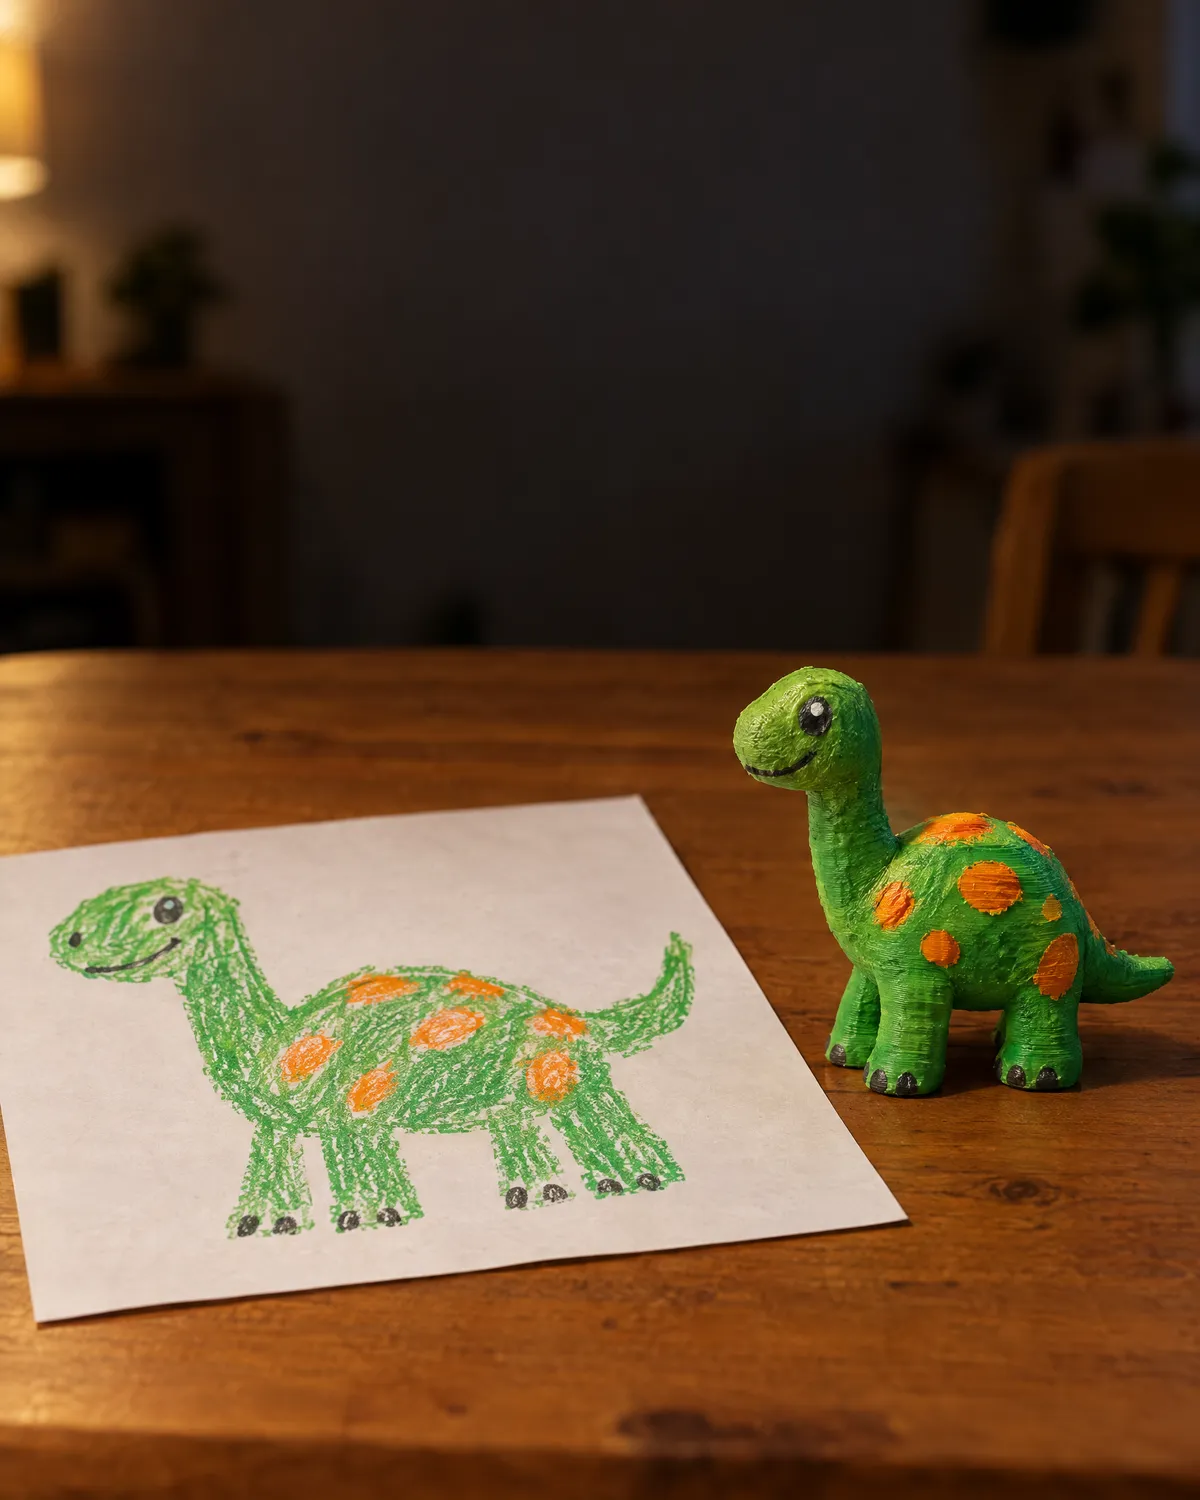
A six-legged dinosaur or a cat whose ears are bigger than its head is exactly what makes the result charming. The point is to keep those impossible proportions, give them volume and let the child spot their own drawing on the shelf.
Doing it by hand in Blender takes hours and plenty of practice. With AI the challenge shifts to getting the software to understand what is the character and what is paper, shadow or scribble. That's where a good photo and a good starting drawing make the difference.
Which drawings work best in 3D
- One character. If the drawing is a scene with a house, a sun, a tree and three friends, pick the star and crop the photo so only they are in it.
- The whole body. With feet or paws showing, the figure has something to stand on. If the drawing cuts off the legs, the AI will have to imagine them.
- Clear strokes and flat colours. Felt-tip or crayon with a firm outline reads better than soft pencil or very watery paint.
- No writing inside. A name written across the tummy may turn into odd relief. If you want it, add it later.
- Parts with some thickness. A tail drawn as a single line will come out very thin; if you're redrawing it, fatten it up a little.
How to take a good photo of the drawing
Use daylight
Next to a window, out of direct sun. The phone's flash leaves a white glare on crayon and lamp light turns the paper yellow.
Hold the phone parallel to the paper
Tilt it and the drawing comes out as a trapezium, and the figure inherits that distortion. Lay the paper flat on the table and shoot from directly above.
Fill the frame
Let the character take up most of the photo, without the table, the edges of the sheet or your hand's shadow.
No filters
No filters, stickers or frames from other apps. Crop and straighten with your phone's editor if you like; upload the original, not a screenshot.
How usi3d turns a drawing into a 3D model
In Image to 3D you upload the photo and, while preparing the quote, usi3d looks at it: if it's a drawing, it tells you. Before building the mesh, it turns it into a front-facing figure and generates its views from every side, and the mesh is built from all of them. That way the 3D model doesn't invent a third eye on the back of the head or a back that doesn't match the front.
That extra step uses more credits than an ordinary photo. Preparing the quote costs nothing: you confirm with the price in front of you and, if the generation fails, the credits come back.
Upload the photo
Open Image to 3D, upload the photo of the drawing and, set “Part height” to the millimetres you'll print it at.
Choose the quality and check the cost
Each quality shows its credits before you confirm. If the quote says it's a drawing, it already includes the step to a figure and its views.
Change what you want before the 3D
With “Design first” you see the design as an image, ask for changes in your own words (“with a wider base”, “without the stand”) and view it from every side. When it's the one you want, you create the 3D model.
Check the model
Spin it in the viewer: look at the back, the base and thin parts such as horns, fingers or tails. Every version is saved in My projects.
Download it
As an STL in millimetres for your slicer, or as a GLB with colour if you're going to paint it in Colours.
Upload a drawing to Image to 3D
How to print the figure
For an 8 to 10 cm figure on a filament printer, these settings are a good starting point. If it's your first print, read the beginner's guide to your first 3D print first.
| Setting | Value | Why |
|---|---|---|
| Filament | PLA | Easy to print, good finish and lots of colours |
| Layer height | 0.12-0.16 mm | Curves on the face and tummy come out without obvious steps |
| Walls | 2-3 | Holds up on a shelf and in small hands |
| Infill | 10-15 % | A decorative figure doesn't need more |
| Supports | Tree supports, only where needed | Arms and tails in mid-air need them; the body doesn't |
| Brim | 3-5 mm if the feet are small | Stops the figure coming loose from the bed mid-print |
If you get strings between the legs, drop the temperature by 5 °C or check retraction with the stringing guide. If the base lifts at the corners, see the one on a first layer that won't stick.
Adding colour: hand-painted or printed in several filaments
There are two routes. The simple one: print it in white or light grey, give it a coat of primer and let the child paint it with acrylics, just as they did the drawing. The other: open it in Colours, paint each area with real filament colours and export it as 3MF to print with a multicolour system such as an AMS. We go through it step by step in how to paint a 3D model in several colours.
Gift ideas for the figure
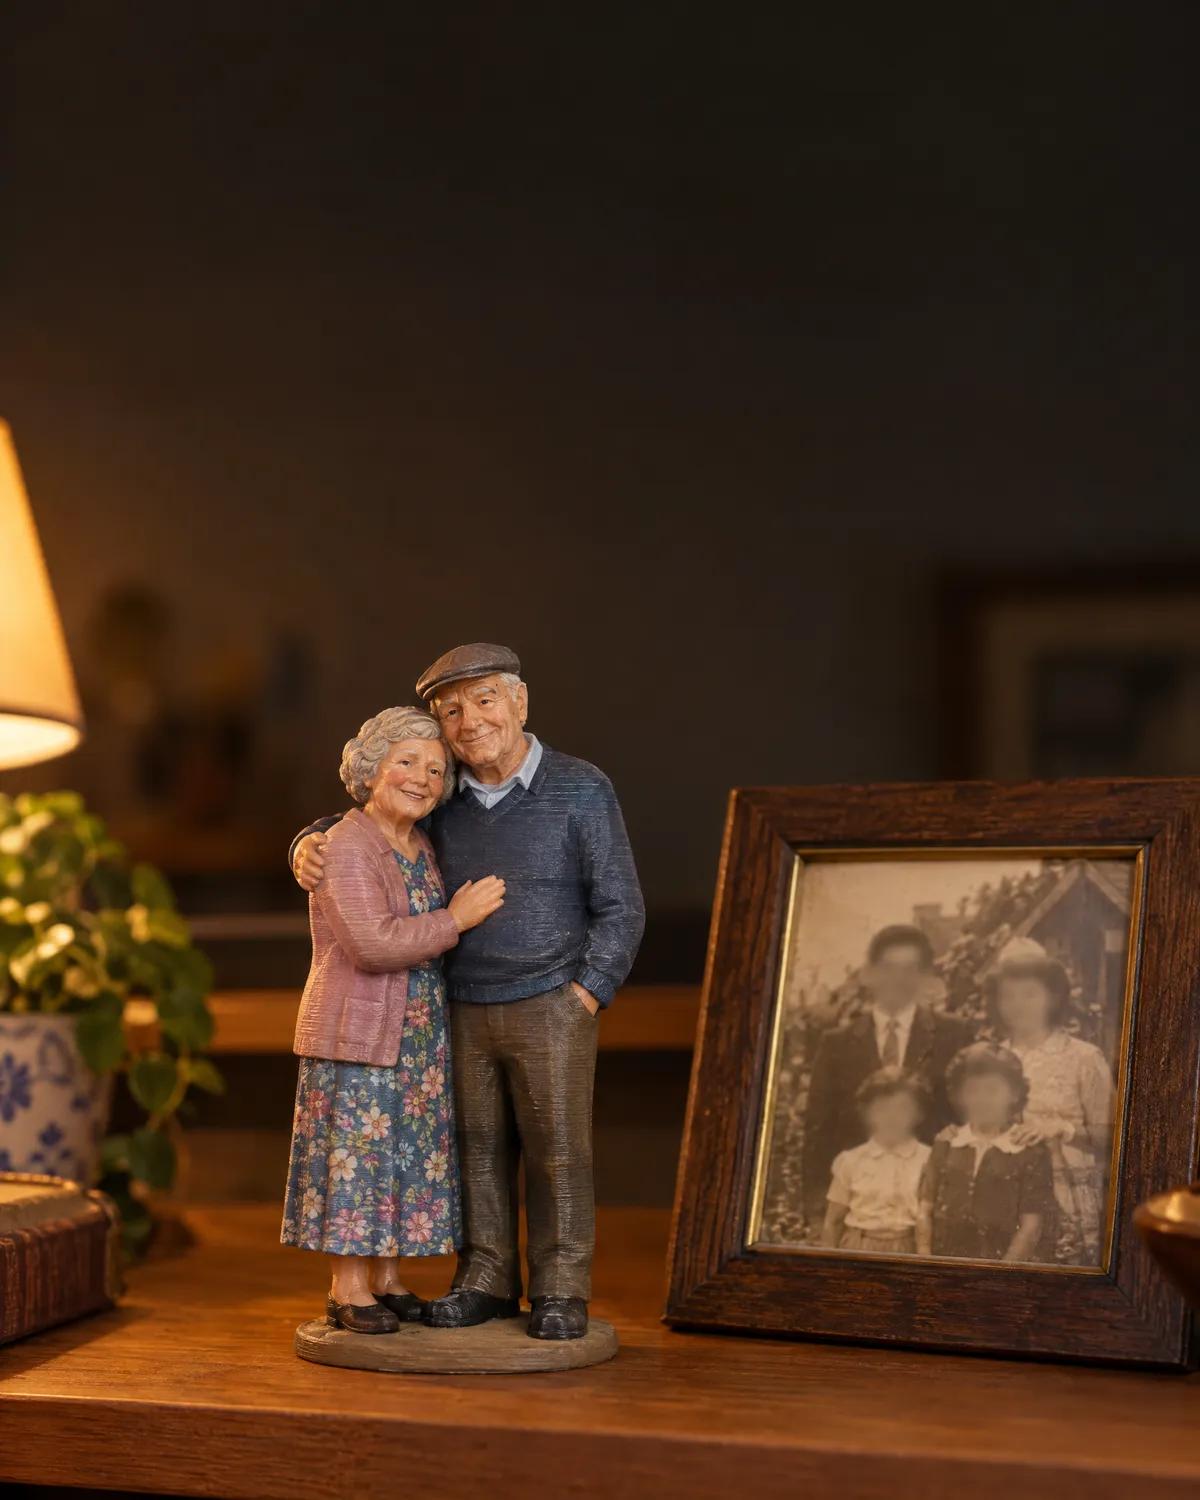
- For the grandparents: the figure next to the original drawing in a box frame.
- A collection: one character per school year, all at the same height, to see how the drawings change over time.
- A keyring or a magnet: the same figure at 4 cm, with a loop or a recess for a 10 × 3 mm magnet.
- For their real pet: if they're drawing the family dog, compare it with a 3D figure of your pet from a photo or with the guided projects.
Frequently asked questions
How do I turn a drawing into a 3D model?
Take a straight, well-lit photo, upload it to an image-to-3D tool such as usi3d's and check the model before downloading it as an STL. usi3d detects that it's a drawing and first turns it into a front-facing figure with its views.
What kind of drawing works best in 3D?
A single character, full body, with a clear outline and flat colours. Crop busy scenes down to one character first.
Why does turning a drawing into 3D cost more than a photo?
Because usi3d adds a step: it turns the drawing into a front-facing figure and generates its views before building the mesh, so the 3D model doesn't invent details. You see the cost before confirming.
What size should I print a figure from a drawing?
Between 8 and 10 cm tall looks good on a shelf and prints in a few hours with 0.12 to 0.16 mm layers. Smaller than that, thin parts can break.
Can I print the figure in colour?
Yes: hand-paint it with acrylics over primer, or paint it in usi3d's Colours and export it as 3MF to print in several filaments.