Tutorials · · By the usi3d team
How to make a 3D figurine of your pet from a photo
On usi3d, open Guided projects and choose “Your pet as a figurine”: say whether it is a dog, a cat or another animal, pick its pose, describe its features, add a photo if you like, choose the height (60 to 180 mm) and the material, and see the cost before the 3D model is generated. If you would rather start from photos, Image to 3D also lets you see the design from every side before you create the 3D model.
Key points
- “Your pet as a figurine”, in Guided projects, makes a small desk figurine on a base from your description and an optional photo.
- You choose the animal (dog, cat or other), the pose (sitting, standing or resting), the height (60, 100, 120 or 180 mm) and PLA or PETG.
- What helps most is the features: ear shape, type of coat, markings and expression.
- In Image to 3D, “Design first” shows you the figurine as an image from every side before you pay for the 3D model.
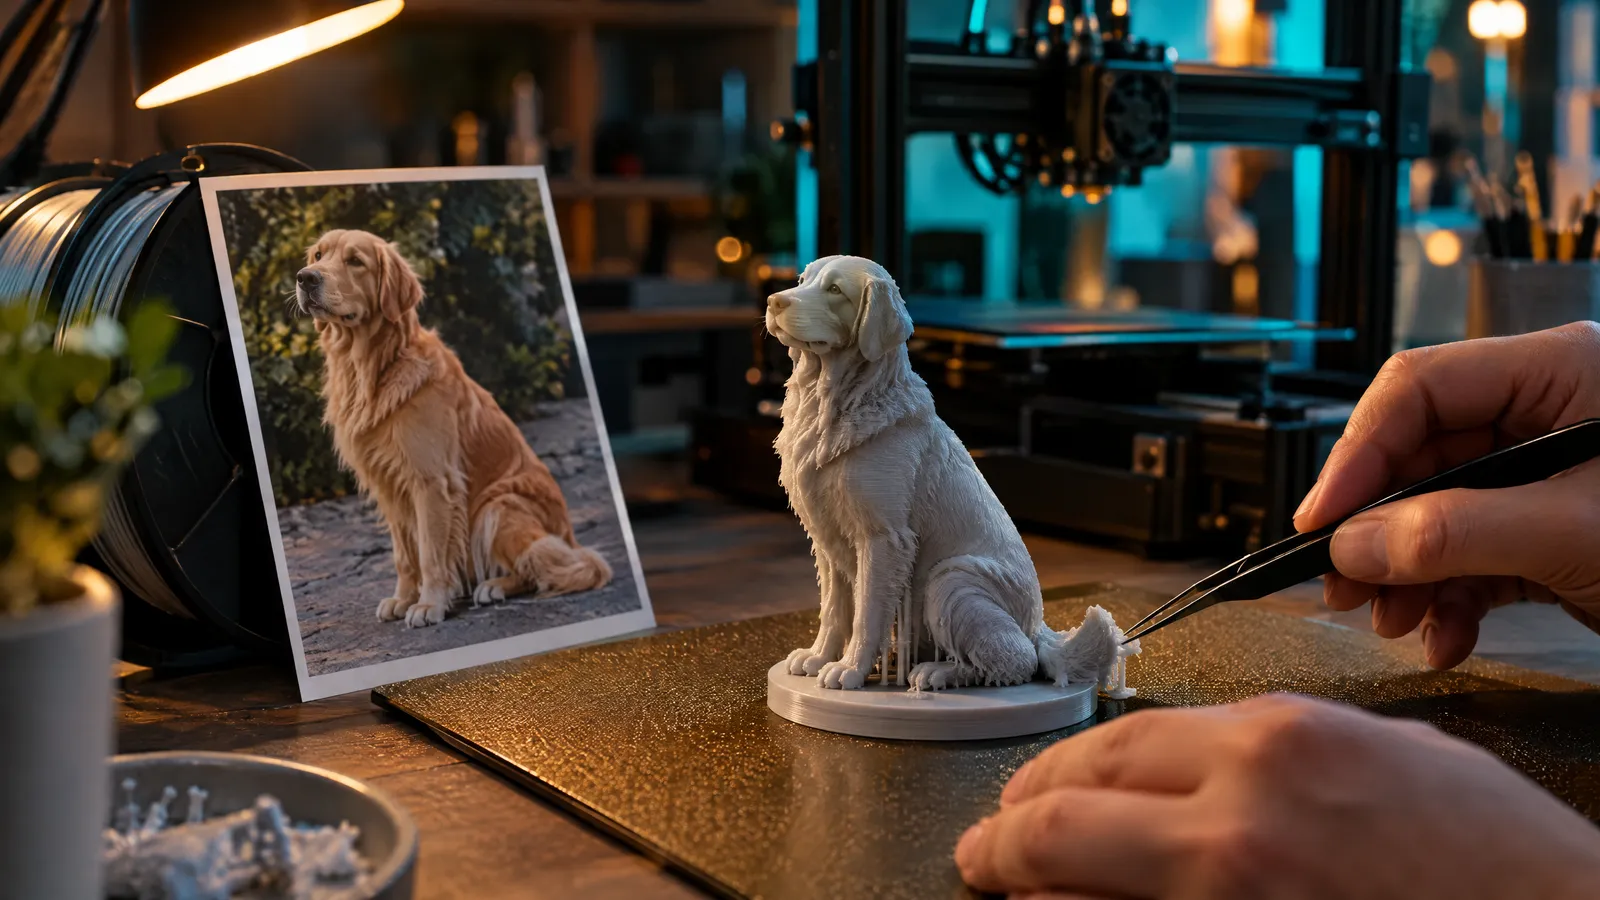
- To print it: 0.12-0.16 mm layers, 2-3 walls, 10-15% infill and tree supports under the ears, muzzle and tail.
What you need to make a figurine of your pet
- A clear photo of your pet, optional but very useful: the whole animal, in good light, with no other animals.
- Two or three features that make it recognisable: the ears, the coat, a marking, the way it looks at you.
- A usi3d account with credits: the 3D model costs credits, and you see how many before you confirm.
- A filament printer to print it. A 100 mm figurine fits on any desktop printer.
Which photo of your pet works best
The photo helps the model keep your animal's features, so what matters is that they are visible. You do not need a good camera: a phone held at the animal's height, near a window, beats a professional photo taken from above.
- The whole animal, from the ears to the tip of the tail, with no legs or muzzle cropped off.
- Side-on or three-quarter view: you see the profile, legs and tail at once. A head-on photo hides the length of the body.
- In the pose you want: if you choose “sitting”, a photo of it sitting is best.
- Soft light and a plain background: a bare wall or the floor, no patterned blankets, no other animals.
- Sharp: with the animal still. A blurred photo smears the ears and the coat.
In Guided projects the photo can be PNG, JPG or WebP up to 20 MB. There are more image tips in how to turn a photo into a 3D model.
How to describe your pet's features
The “Distinctive features” field is required and it is the one that changes the result most. Describe what can be sculpted: shapes, volumes and markings. Colours help if you plan to paint the figurine later, but shape is what gets printed.
| Weak description | Description that works |
|---|---|
| My dog Toby, he's a good boy | Floppy ears, curly fur and a white mark on the chest |
| A pretty cat | Short-haired cat, large pointed ears, tail curled round its paws, alert gaze |
| A westie | Small terrier with a rough, thick coat around the face, upright triangular ears, short tail pointing straight up |
| With his name on the base | Do not ask for text: the base comes without lettering; if you want the name, engrave it or stick it on afterwards |
The rules are the same as for any text-to-3D description, and we cover them with more examples in how to describe your part so the AI models it well.
Step by step: your pet's figurine in Guided projects
Open the project
Go to Guided projects and choose “Your pet as a figurine”. Sign in so you can save it.
Shape it
Choose the animal (dog, cat or other) and the pose (sitting, standing or resting), and write its distinctive features.
Add the photo
Under “Add a visual reference”, choose your pet's photo. It is optional, but a clear view helps preserve its features.
Choose height and material
The approximate height can be 60, 100, 120 or 180 mm, and the material PLA or PETG. For a shelf figurine, 100 or 120 mm in PLA is the most forgiving.
Get the quote
Press “Get exact quote”: the server works out the exact cost in credits, and preparing it costs nothing.
Confirm and generate
“Confirm and generate” reserves the credits; if generation fails, they come back. The project stays in My projects, with its previews, versions and download options.
Another route: several photos in Image to 3D
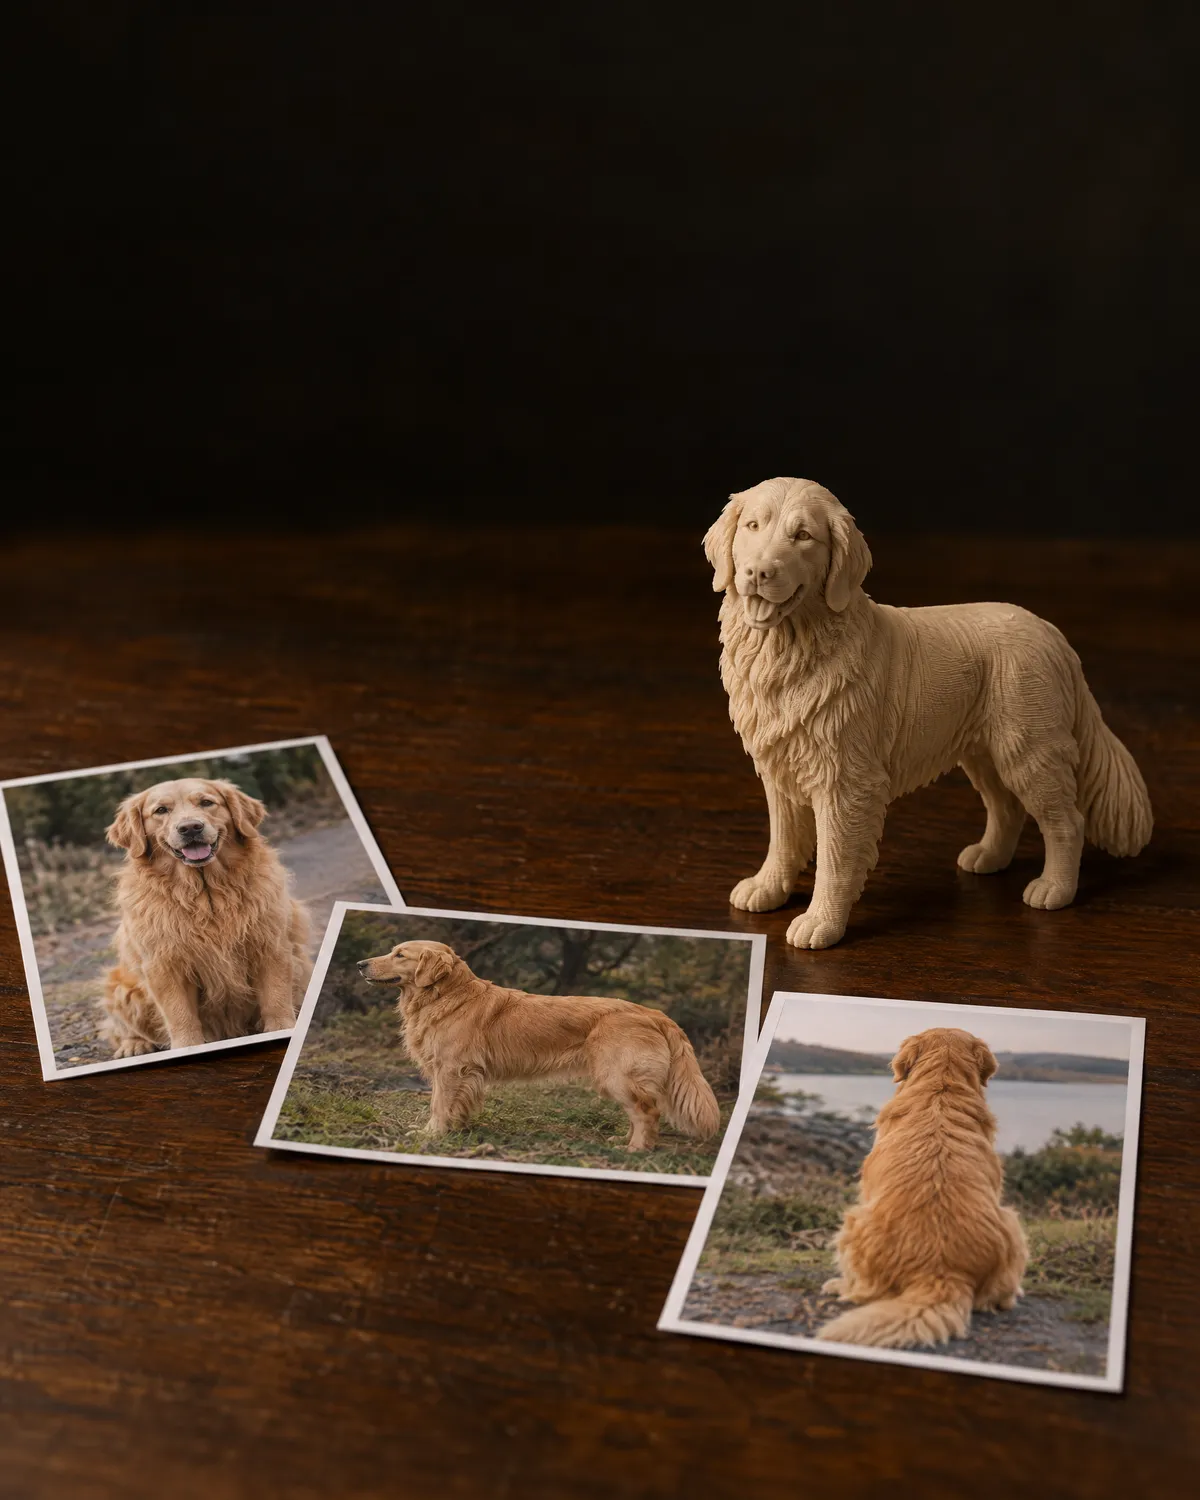
If you have good photos of your pet from several sides, Image to 3D accepts one to four. With one photo it is created in Detail quality; with two to four real photos of the same animal you can choose Studio, which makes use of those extra views.
From today, if you start from one photo, you can also switch on “Design first”: before the 3D model, you see your idea as an image, as it would look once printed, ask for changes in your own words (“floppier ears”, “no collar”) and use “See every side” to check it from behind, both sides, above and below. Each image costs far less than a 3D model, so you only pay for the 3D once the design is the one you want.
Check the model before printing
The AI fills in what the photos do not show, so look at the model in My projects from every side: the back, the legs, where the tail meets the body. If the file has holes or badly oriented faces, Repair model finds them and closes simple flat holes in your browser.
To print it in several colours, Colours lets you paint the model by area with just a few filaments and export it as 3MF for your multi-colour system. And if you want to know what the plastic will cost, run the STL through the cost calculator.
How to print your pet's figurine
| Setting | Recommended value | Why |
|---|---|---|
| Orientation | Upright on its base | The base is the contact area and the face details stay vertical |
| Layer height | 0.12-0.16 mm | Fine layers pick out the fur and face; at 0.2 mm you see steps on the muzzle |
| Walls | 2-3 | Enough for a decorative figurine |
| Infill | 10-15% | It carries no load: more infill is more plastic and more hours |
| Supports | Tree, touching only where needed | Under ears, muzzle, chin and tail; they mark the part less |
| Material | PLA | Crisp detail and easy to sand and paint |
At 60 mm you lose fine details such as whiskers or toes; between 100 and 120 mm the figurine keeps its expression without the print time running away. If supports do not come off cleanly, the guide to supports that fall over or will not come off helps you tune them, and if the base will not grip, go over why the first layer does not stick.
Frequently asked questions
Can I make a 3D figurine of my dog from a photo?
Yes. On usi3d, “Your pet as a figurine” in Guided projects creates it from a description of its features and an optional photo, and in Image to 3D you can start from one to four photos.
How much does it cost to make my pet's figurine on usi3d?
The 3D model costs credits. You see the exact cost before confirming, preparing the quote costs nothing and, if generation fails, the credits come back.
What size of figurine should I print?
Between 100 and 120 mm tall for a shelf figurine: it keeps the expression and prints in a few hours. At 60 mm fine details are lost.
Can I put my pet's name on the base?
The project does not add text to the base. If you want the name, you can engrave it afterwards in your design software or glue on a separately printed plate.
Can I print the figurine in several colours?
Yes. Paint the model by area in usi3d's Colours tool and export it as 3MF for your multi-colour system, or print it in one colour and paint it by hand.