Tutorials · · By the usi3d team
How to 3D print parts bigger than your printer's bed
When a model doesn't fit on the bed, you split it into parts that do, each with a flat cut face and dowels to line them up, then glue them together. The tricky bits are choosing where to cut and getting the clearance right: 0.20 mm per side is a good starting point, but a test print is worth it. usi3d's Split into parts does the job in your browser without spending credits. Since 3 November 2026, downloading the parts comes with the Pro, Max or Business plan.
Key points
- A model that doesn't fit the bed is split into parts that do, then joined with dowels or alignment pins and glue.
- Cut through smooth, wide areas away from fine detail and put the cut face on the bed: it prints flat and rarely needs supports.
- A clearance of 0.20 mm per side works on many FDM printers; print a test piece first to tune it to your machine and filament.
- usi3d's Split into parts runs in your browser with STL, 3MF or GLB files up to 3 million triangles, costs no credits and gives you a 3MF with one plate per bed or a ZIP of STLs.
What to do when a part won't fit on the bed
Before cutting anything, try the cheap fixes. On a 256 × 256 mm bed the diagonal is about 362 mm, so a long, narrow part will sometimes fit if you rotate it 45° in the slicer. If the exact size doesn't matter, scaling it down by 10 or 15 % may also be enough.
When neither works (a cosplay helmet, a 40 cm lamp, a scale model) you have to split it. Done well, the seam barely shows and the part holds: joints with dowels and glue are usually stronger than the layers around them.
| Printer | Build volume | How to pick it in usi3d |
|---|---|---|
| Bambu Lab A1 mini | 180 × 180 × 180 mm | In the list |
| Bambu Lab A1 | 256 × 256 × 256 mm | In the list |
| Bambu Lab P1S and X1 Carbon | 256 × 256 × 250 mm | In the list |
| Prusa MK4 | 250 × 210 × 220 mm | “Another printer”, with its size |
| Creality Ender-3 V3 SE | 220 × 220 × 250 mm | “Another printer”, with its size |
Where to cut a model so it prints well in parts
Where you cut decides how well each part prints and how visible the seam will be. These rules apply whether you cut by hand in your slicer or let a tool do it:
- Through smooth or straight areas. A cut across a flat surface disappears with a bit of sanding; one through a face, lettering or a fine grille always shows.
- Where the cross-section is wide. A 40 × 40 mm joint takes several dowels and plenty of glue area; a 10 mm diameter one stays weak however well you glue it.
- With the print orientation in mind. The cut face is flat and large: if the part sits on it, the first layer grips well and you often need no support.
- Away from where the part works. On a bracket or an arm that carries weight, don't cut right at the bend: that is where it will open up.
- Into as few parts as possible. Every joint adds a little misalignment and some sanding. Three well-placed parts beat seven.
Dowels, alignment pins and clearance: how the parts fit
Loose dowels are cylinders printed separately that slot into two holes, one on each cut face. Print them lying down: the layers then run lengthwise and they won't snap in half as you push them in. Where a wall is too thin for a hole, alignment pins do the job: short pegs printed on one face that drop into recesses on the other.
Clearance is the gap you leave between the dowel and its hole, measured per side. With a 6 mm dowel and 0.20 mm per side, the hole is 6.40 mm. Too tight and the dowel won't go in or splits the part; too loose and the joint wobbles and the glue has too much to fill. Flow calibration, elephant's foot on the first layer and the filament itself all play a part.
How to split a model into parts with usi3d
Split into parts does all of the above in your browser: it finds the cuts, adds the dowels, turns each part to the pose it prints best in and packs everything onto as few beds as possible. It costs no credits and your model never leaves your computer to be split.
Open the model
Drop in an STL, 3MF or GLB up to 3 million triangles, or try one from the usi3d Collection. If it isn't a closed solid, the tool will try to repair it; if that fails, run it through Repair model first.
Pick your printer
The beds of Bambu Lab printers are built in (A1, A1 mini, P1S, P1P, X1 Carbon, H2D and others). For anything else, choose “Another printer” and enter its width, depth and height. By default it leaves a 5 mm margin on each bed edge; you can set it from 2 to 15 mm.
Set the final size
Type the longest side you want in millimetres. The tool tells you straight away whether it fits whole (no need to split) or will be cut into parts.
Choose what to separate, if you like
Tap a part of the model and press “Separate this part”: it comes out along its outline rather than with a straight cut, and carries dowels so it goes back together. With “Recognise the parts with AI”, free with your account and a few uses a day, one click picks each object whole.
Tune the joints
In “Joint settings” you choose the clearance (0.05 to 0.50 mm per side; 0.20 by default) and the wall around each hole (1.6 mm by default). You can also download the clearance test piece as an STL there: five 6 mm holes with clearances from 0.10 to 0.30 mm engraved, plus five dowels.
Press “Split into parts”
It works out where to cut, pairs up the faces, adds dowels and numbers, picks how to print each part and places it on the bed. You can move parts between beds by hand if you want.
Download and check
Choose a 3MF with one plate per bed (Bambu Studio opens it with its plates; other slicers read the geometry) or a ZIP with one STL per part and assembly instructions. On download, the tool reads the file back and assembles it part by part to check it matches the model and the dowels fit. The download comes with the Pro, Max or Business plan.
How you know which part goes where
Each joint has its number engraved beside the holes on both faces: the face marked 3 goes against the other face marked 3, and a bar under the number shows which way is down. On top of that, one dowel in each joint is thicker than the rest (diameters run from 4 to 8 mm) and isn't repeated in the other joints of those parts, so it won't go into the wrong hole and the part only fits one way round.
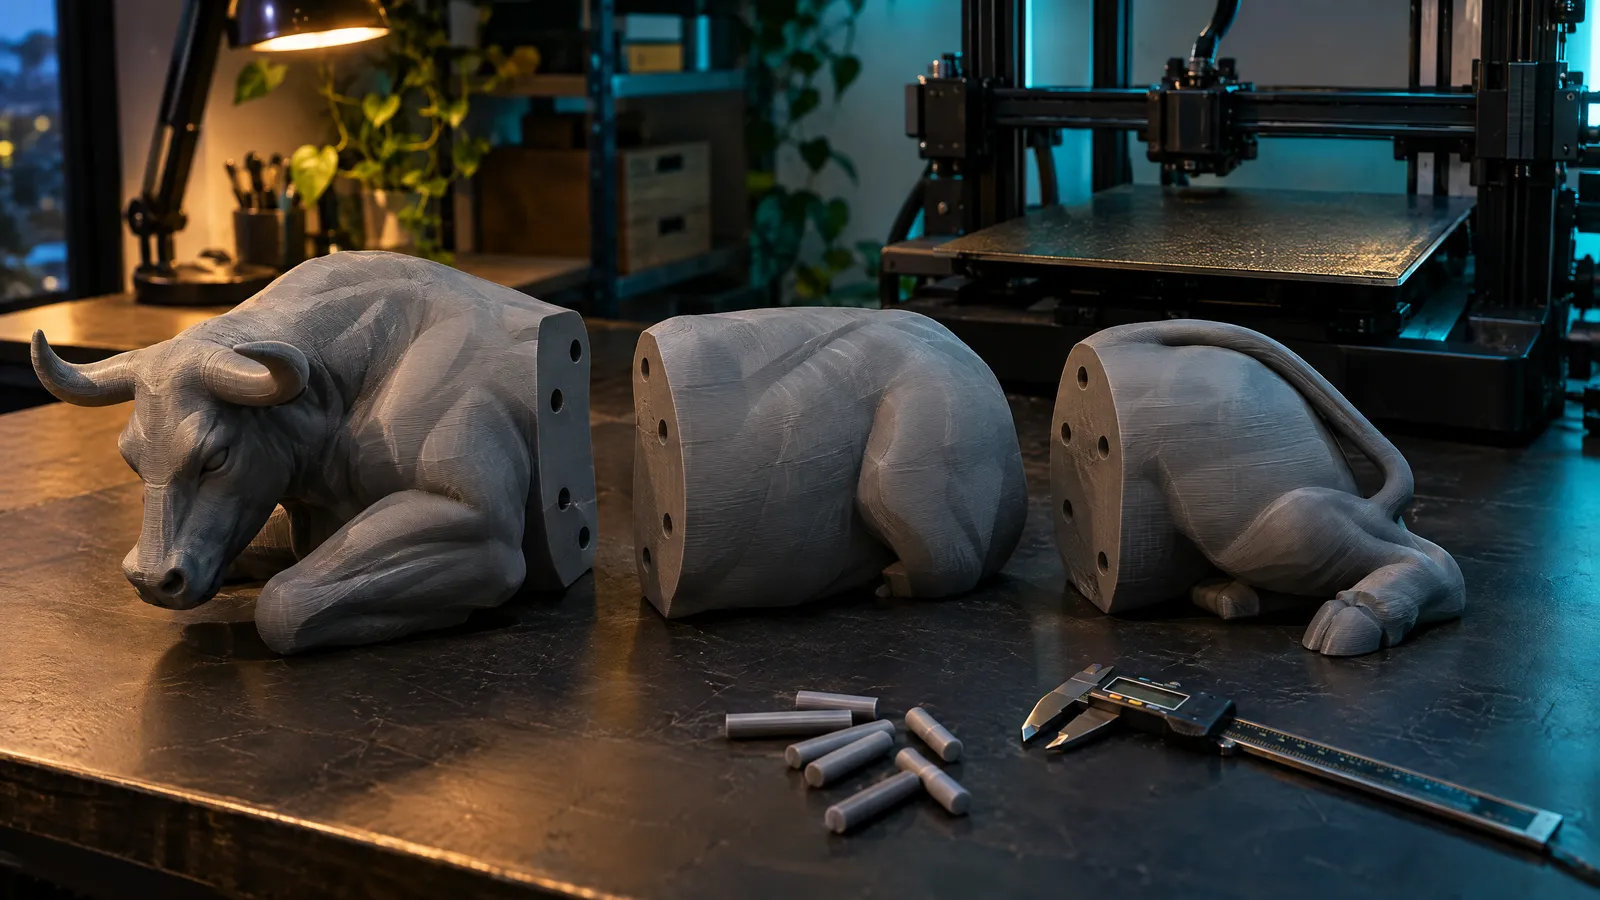
Holes facing up come out round, with a pointed end so the slicer doesn't fill them with support and a chamfer against elephant's foot; holes left on their side are teardrop-shaped so they don't sag. As an example, the tool itself split a bull scaled to 400 mm long into 3 parts, with 8 dowels across 3 numbered joints.
How to print and assemble the parts
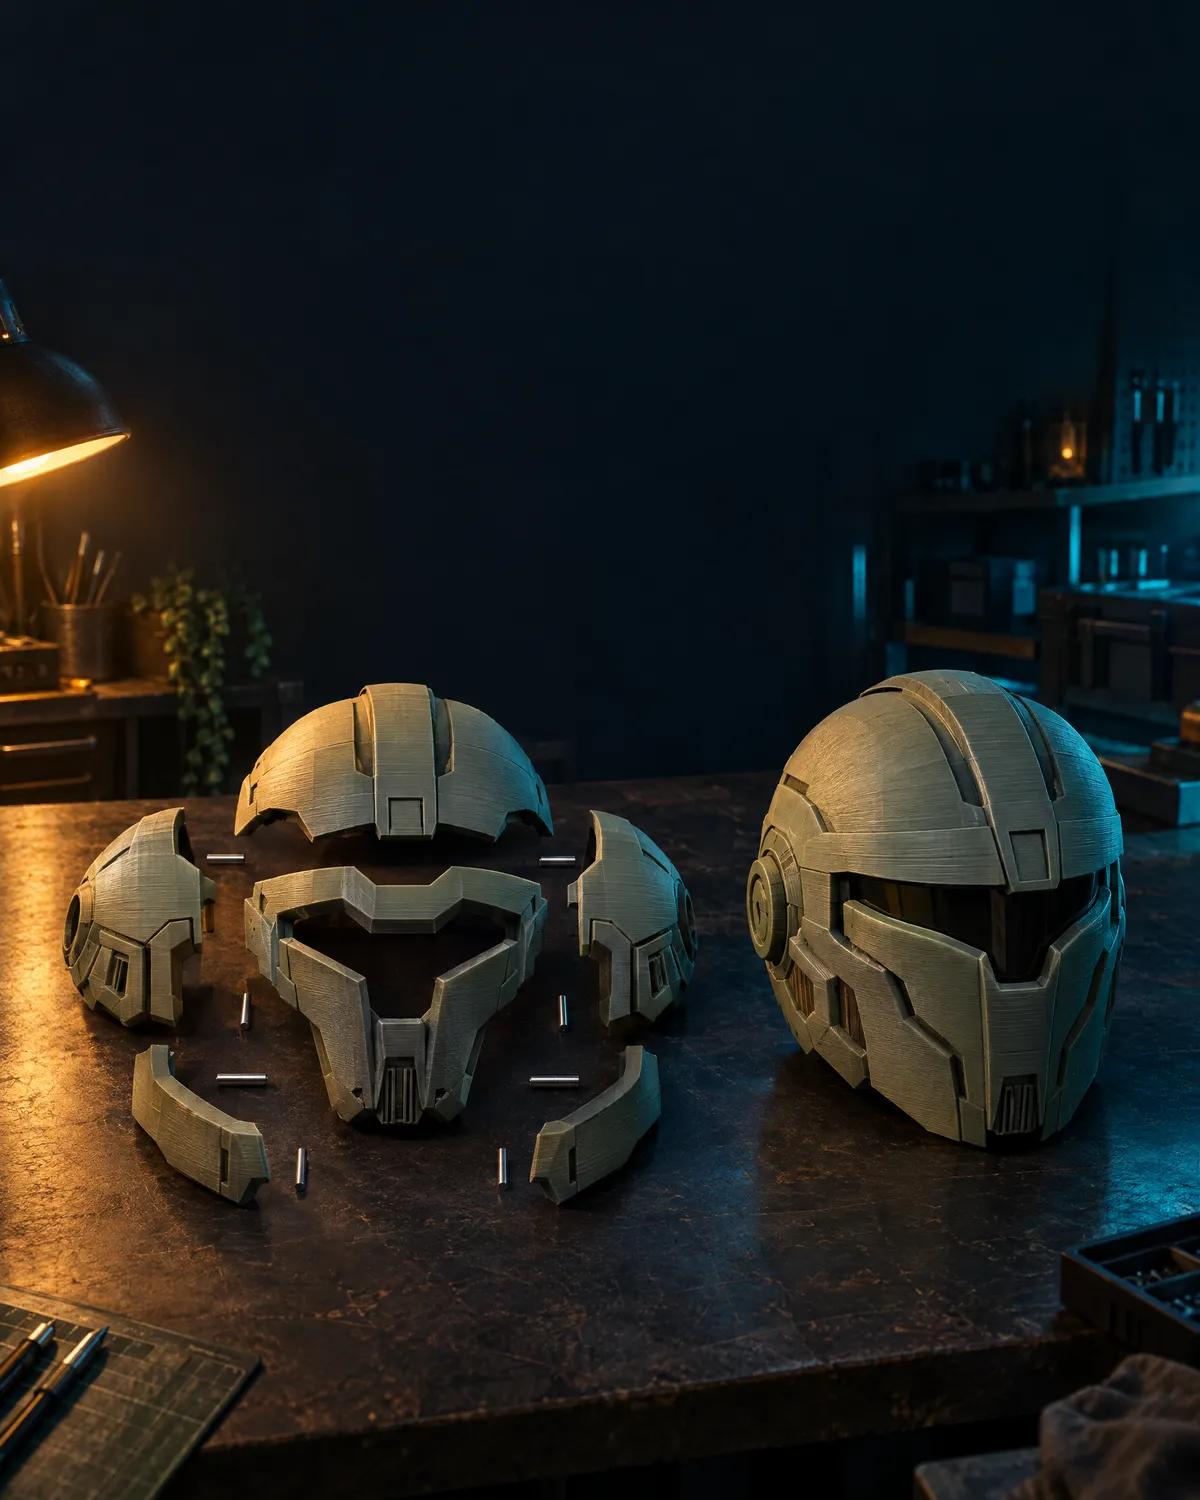
- Don't rotate the parts in the slicer. They already sit in the pose with the least measured overhang; turn them another way and the holes are no longer designed for that orientation.
- Print them all with the same profile and spool. Same layer height (0.16 or 0.20 mm), same wall count and same colour: two batches of the same filament can differ in shade.
- Give the dowels 3 or 4 walls. Being thin, they come out almost solid, which is what stops them snapping.
- Dry-fit before gluing. If a dowel is tight, sand the dowel, not the hole. If they all wobble, drop the clearance by 0.05 mm next time.
- Use the right adhesive. For PLA, gel superglue for quick assembly or 5-minute epoxy if the part takes load or the joint has gaps. Epoxy grips PETG better. ABS and ASA can be solvent-welded with acetone.
- Hide the seam. Sand with 120 then 220 grit, fill with modelling putty and sand again before priming and painting.
Common problems when printing in parts, and how to avoid them
| What happens | Likely cause | What to do |
|---|---|---|
| Dowels won't go in | Too little clearance, over-extrusion or elephant's foot on the cut face | Raise the clearance by 0.05 mm, calibrate the flow and check for elephant's foot |
| Dowels wobble | Clearance too large for your printer | Lower the clearance by 0.05 mm or use epoxy, which fills the gap |
| Faces don't meet and leave a step | The corners of the cut face lifted while printing | Look at warping: clean the plate, add a brim or raise the bed temperature |
| A dowel snaps during assembly | Printed standing up or in a brittle filament | Print it lying down with more walls; with PLA, see why it turns brittle |
| The joint opens up over time | Too little glue area or load right at the joint | Use epoxy, cut through a wider section or add another dowel |
Before you start: the model, the filament and the cost
Splitting a broken model gives you broken parts. If your STL comes from a scan or from AI and has holes or flipped faces, repair it first; we cover that in how to repair an STL and improve its finish. If you're unsure whether to keep the result as STL or 3MF, STL, OBJ, GLB and 3MF explains the differences.
For large parts that will sit in the sun or near a heat source, PLA falls short: it softens at around 55-60 °C. Compare the options in PLA, PETG, ASA or TPU. And before committing 600 g of filament, check what it will cost with Print cost calculator.
Frequently asked questions
How do I print something bigger than my 3D printer?
Split it into parts that fit the bed, with dowels or alignment pins to line them up, print each one and glue them together. Cut through smooth, wide areas and put the cut face on the bed so it prints flat.
What clearance should I leave for 3D-printed parts to fit together?
Start with 0.20 mm per side: with a 6 mm dowel, the hole is 6.40 mm. Print a test piece with several clearances and keep the one that goes in by hand without wobbling.
What glue should I use to join PLA parts?
Gel superglue for quick assembly and 5-minute epoxy if the part carries weight or the joint has some play. Glue somewhere ventilated and wear gloves.
Does usi3d's Split into parts cost credits?
No. Splitting runs in your browser, uses no credits and you can try it for free. Downloading the parts (the 3MF by bed, the ZIP or each part's STL) needs the Pro, Max or Business plan. Recognising the parts with AI is free with your account, with a set number of uses per day.
Does the usi3d 3MF work in slicers other than Bambu Studio?
Bambu Studio opens it with one plate per bed; other slicers read the geometry with all the beds side by side. If you prefer, download the ZIP with one STL per part, which any slicer opens.