News · · By the usi3d team
Textures for your STL: wood, leather, carbon fibre or knurled relief
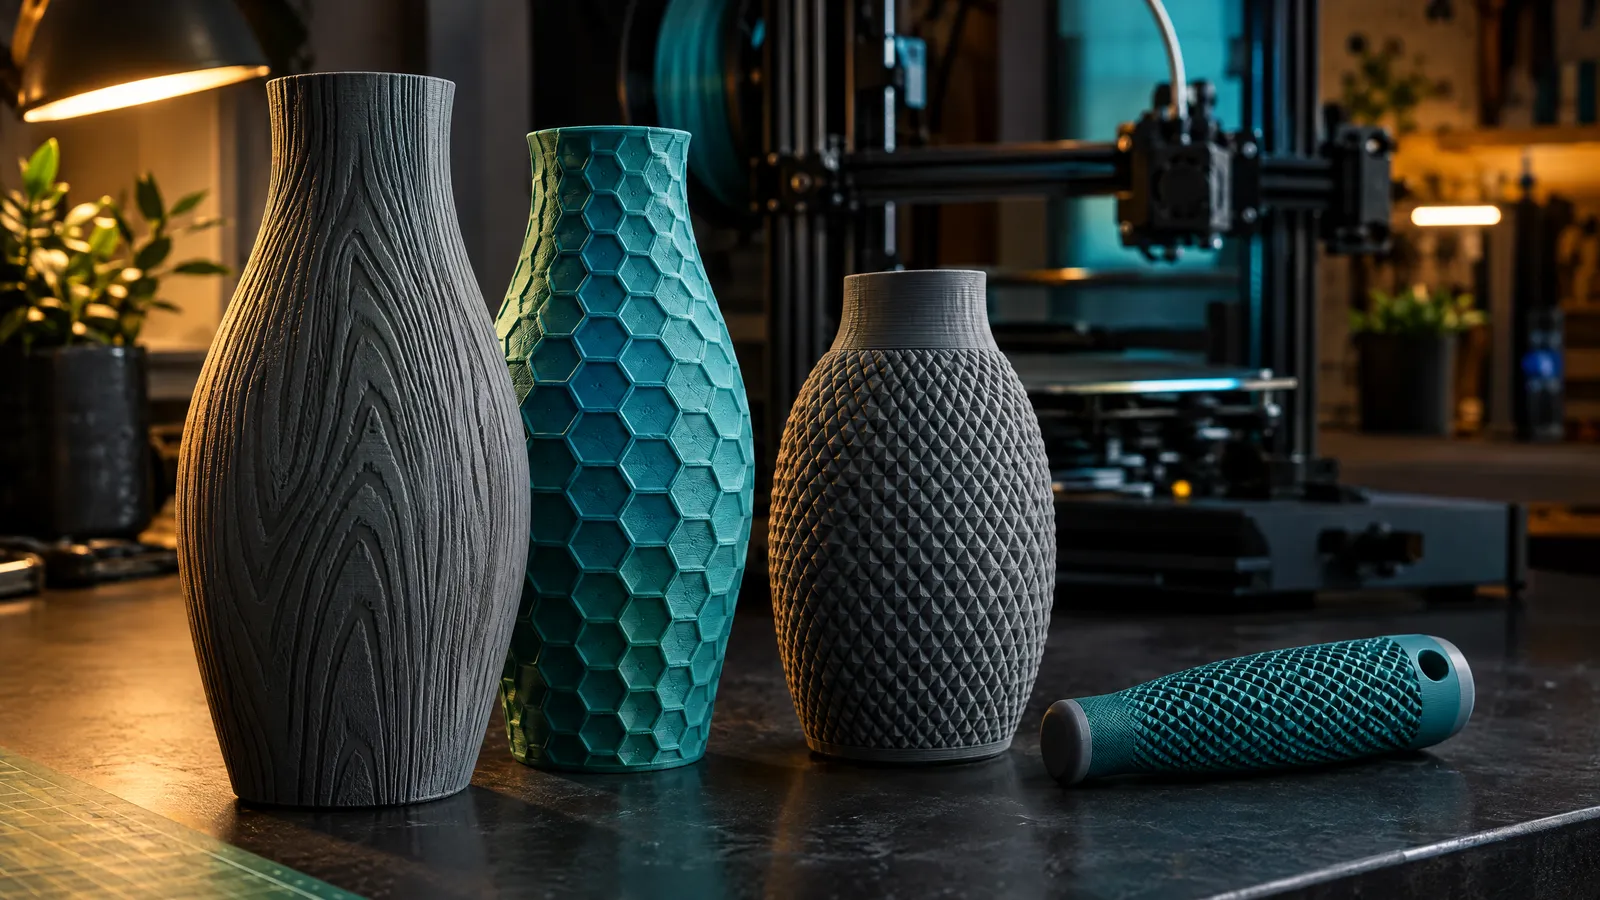
As of today, usi3d's Textures tool adds genuine relief to any STL or 3MF: pick one of the 133 textures in the gallery or create your own, set the size of each repeat and the depth in millimetres, and download the modified mesh, closed and ready for the slicer. Trying textures is free and runs in your browser; downloading needs the Pro, Max or Business plan.
Key points
- usi3d's Textures tool displaces the model's surface following a pattern: the relief is in the mesh and any slicer prints it.
- It opens STL, 3MF, GLB, OBJ and STEP; the gallery has 133 textures, from wood and leather to knurling, carbon fibre and tyre treads.
- The base stays flat to sit on the bed, and you can paint the surfaces that shouldn't get the texture.
- To print well, the depth should be at least two layers (0.4 mm with 0.2 mm layers) and the detail no finer than the nozzle.
- Trying it is free in your browser; downloading the textured STL or 3MF needs the Pro, Max or Business plan.
What surface texture is and how it differs from fuzzy skin
A relief texture moves each point of the surface outwards or inwards according to a greyscale pattern: light areas rise and dark areas sink. The result is real geometry, so Bambu Studio, OrcaSlicer, PrusaSlicer and Cura all print it the same way.
A slicer's fuzzy skin does something else: it adds random jitter to the outer walls as it prints. It's great for hiding layer lines, but it won't draw wood grain or grip diamonds, and it leaves top surfaces alone. With a texture you choose the pattern, its size, its depth and which faces it goes on.
The 133 textures in the gallery
- Geometric: hexagons, bricks, herringbone, diamonds, pyramids, octagons.
- Patterns: Japanese waves, fans, maze, gears, guilloché, circuit board.
- Organic: voronoi, crystal, bubbles, coral, fingerprint.
- Fabric: plain weave, twill, carbon fibre, basket, knit, chainmail.
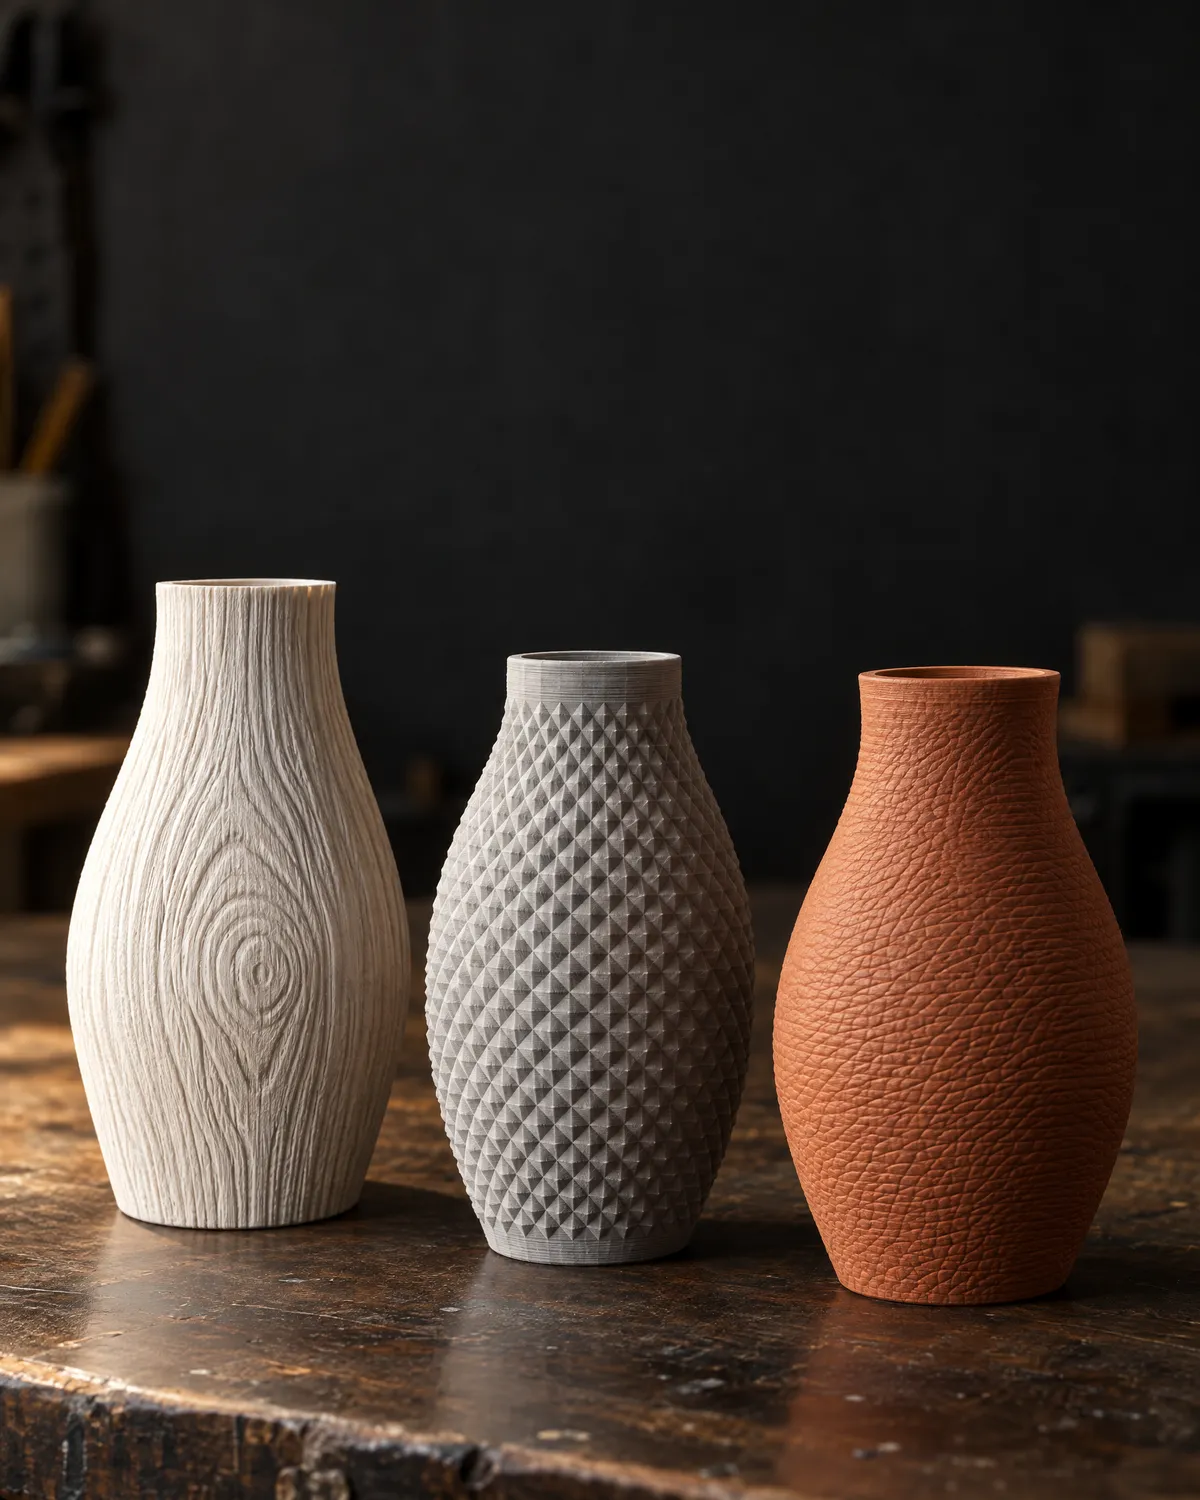
- Natural: wood, bark, cobblestone, leather, scales, roof tiles, bamboo.
- Grip: diamond, straight and square knurling, isogrid, pills.
- Mould finishes: sand matte, spark erosion, hammered, haircell.
- Tyres: touring, mud-terrain, truck, tractor, loader and bike.
If you don't know what the thing you want is called, describe it in your own words (“a handle that doesn't slip”, “wood look”) and the AI search shows the best matches.
How to add a texture to an STL
Open your model
Drop in an STL, 3MF, GLB, OBJ or STEP, open it from My projects or try a sample. No model yet? Create one first with Text to 3D or Image to 3D.
Pick the texture
From the gallery, with the AI search or from “Your textures” if you've already made some.
Choose the projection
Triplanar works almost always; cylindrical for cups, handles and wheels (it can wrap round with a whole number of repeats, so there's no seam); cubic, spherical and flat are there too. Stamp mode applies it just once, for a logo.
Set size and depth
The size of each repeat in millimetres (12 mm to start), plus offset and rotation. The depth (0.6 mm to start) can go outwards, inwards or symmetric to keep the part's dimensions.
Decide where it goes
Faces pointing down get no texture so the base sits flat on the bed. With the brush or fill tool you paint the surfaces that shouldn't get it, or the only ones that should.
Download
Choose the resolution (the longest edge after subdividing; 0.4 mm to start) and the triangle cap for the file (1 million to start). Download the STL or 3MF, or save it to My projects.
What size and depth to choose so it prints well
A texture that looks gorgeous on screen can vanish once printed. With a 0.4 mm nozzle, any sideways detail under 0.4-0.5 mm gets lost, and on top faces the depth is split into layers: with 0.2 mm layers, 0.4 mm of relief is just two steps. These are the starting values of some textures in the gallery:
| Texture | Repeat | Depth | Good for |
|---|---|---|---|
| Diamond knurl | 8 mm | 0.6 mm | Handles, knobs, caps you need to twist |
| Hexagons | 12 mm | 0.6 mm | Boxes, cases, vases |
| Leather | 14 mm | 0.4 mm | Covers, sleeves, decorative parts |
| Carbon fibre | 10 mm | 0.3 mm | Enclosures and technical-looking parts |
| Wood | 30 mm | 0.4 mm | Boxes, frames, planters |
| Sand matte | 8 mm | 0.15 mm | Hiding layer lines on smooth surfaces |
Print textured parts with 0.12 to 0.2 mm layers and, if the relief is fine, slow down the outer wall. If the tool warns that the depth is more than 10 % of the thinnest part of the model, reduce it: the relief could collide with itself. To give an AI-made model a clean surface before texturing, run it through Repair model first.
Creating your own texture
If it isn't in the gallery, you can make it three ways: from an image (a photo, a logo or a drawing; light areas are raised and dark ones sunk), by blending two gallery textures, or by describing it to the AI. Creating one with AI spends credits and you're only charged if it works. With your account they're kept in “Your textures” to use on any model.
What it costs and where you can use it
Trying textures is free and all the processing happens in your browser. To download your model with the texture as STL or 3MF you need the Pro, Max or Business plan, as with any usi3d model; you'll find them in Plans and credits.
If you work through the API or the MCP server, the gallery, the AI search and your own textures are available there too; the texture is then applied on the website. And if you want colour as well, combine the texture with Colours and 3MF: we explain how in how to paint a 3D model in several colours.
Frequently asked questions
How do I add a texture to an STL?
Open it in a displacement texture tool such as usi3d's Textures, pick the pattern, set the repeat size and depth, and download the mesh with the relief applied. Any slicer can print the result.
What's the difference between a texture and fuzzy skin?
Fuzzy skin adds random jitter to the outer walls during printing. A texture changes the geometry with a specific pattern, on the faces you choose.
How deep should a 3D print texture be?
At least two layers: 0.4 mm with 0.2 mm layers. Between 0.3 and 0.6 mm works on most FDM parts with a 0.4 mm nozzle.
Is it free to apply textures in usi3d?
Trying them is free and runs in your browser. Downloading the textured STL or 3MF needs the Pro, Max or Business plan.
Which file formats does usi3d's Textures tool accept?
It opens STL, 3MF, GLB, OBJ and STEP, and downloads STL or 3MF.